Two months ago I was sitting at home, browsing Discord, and see this screenshot posted by Laser Ninja.
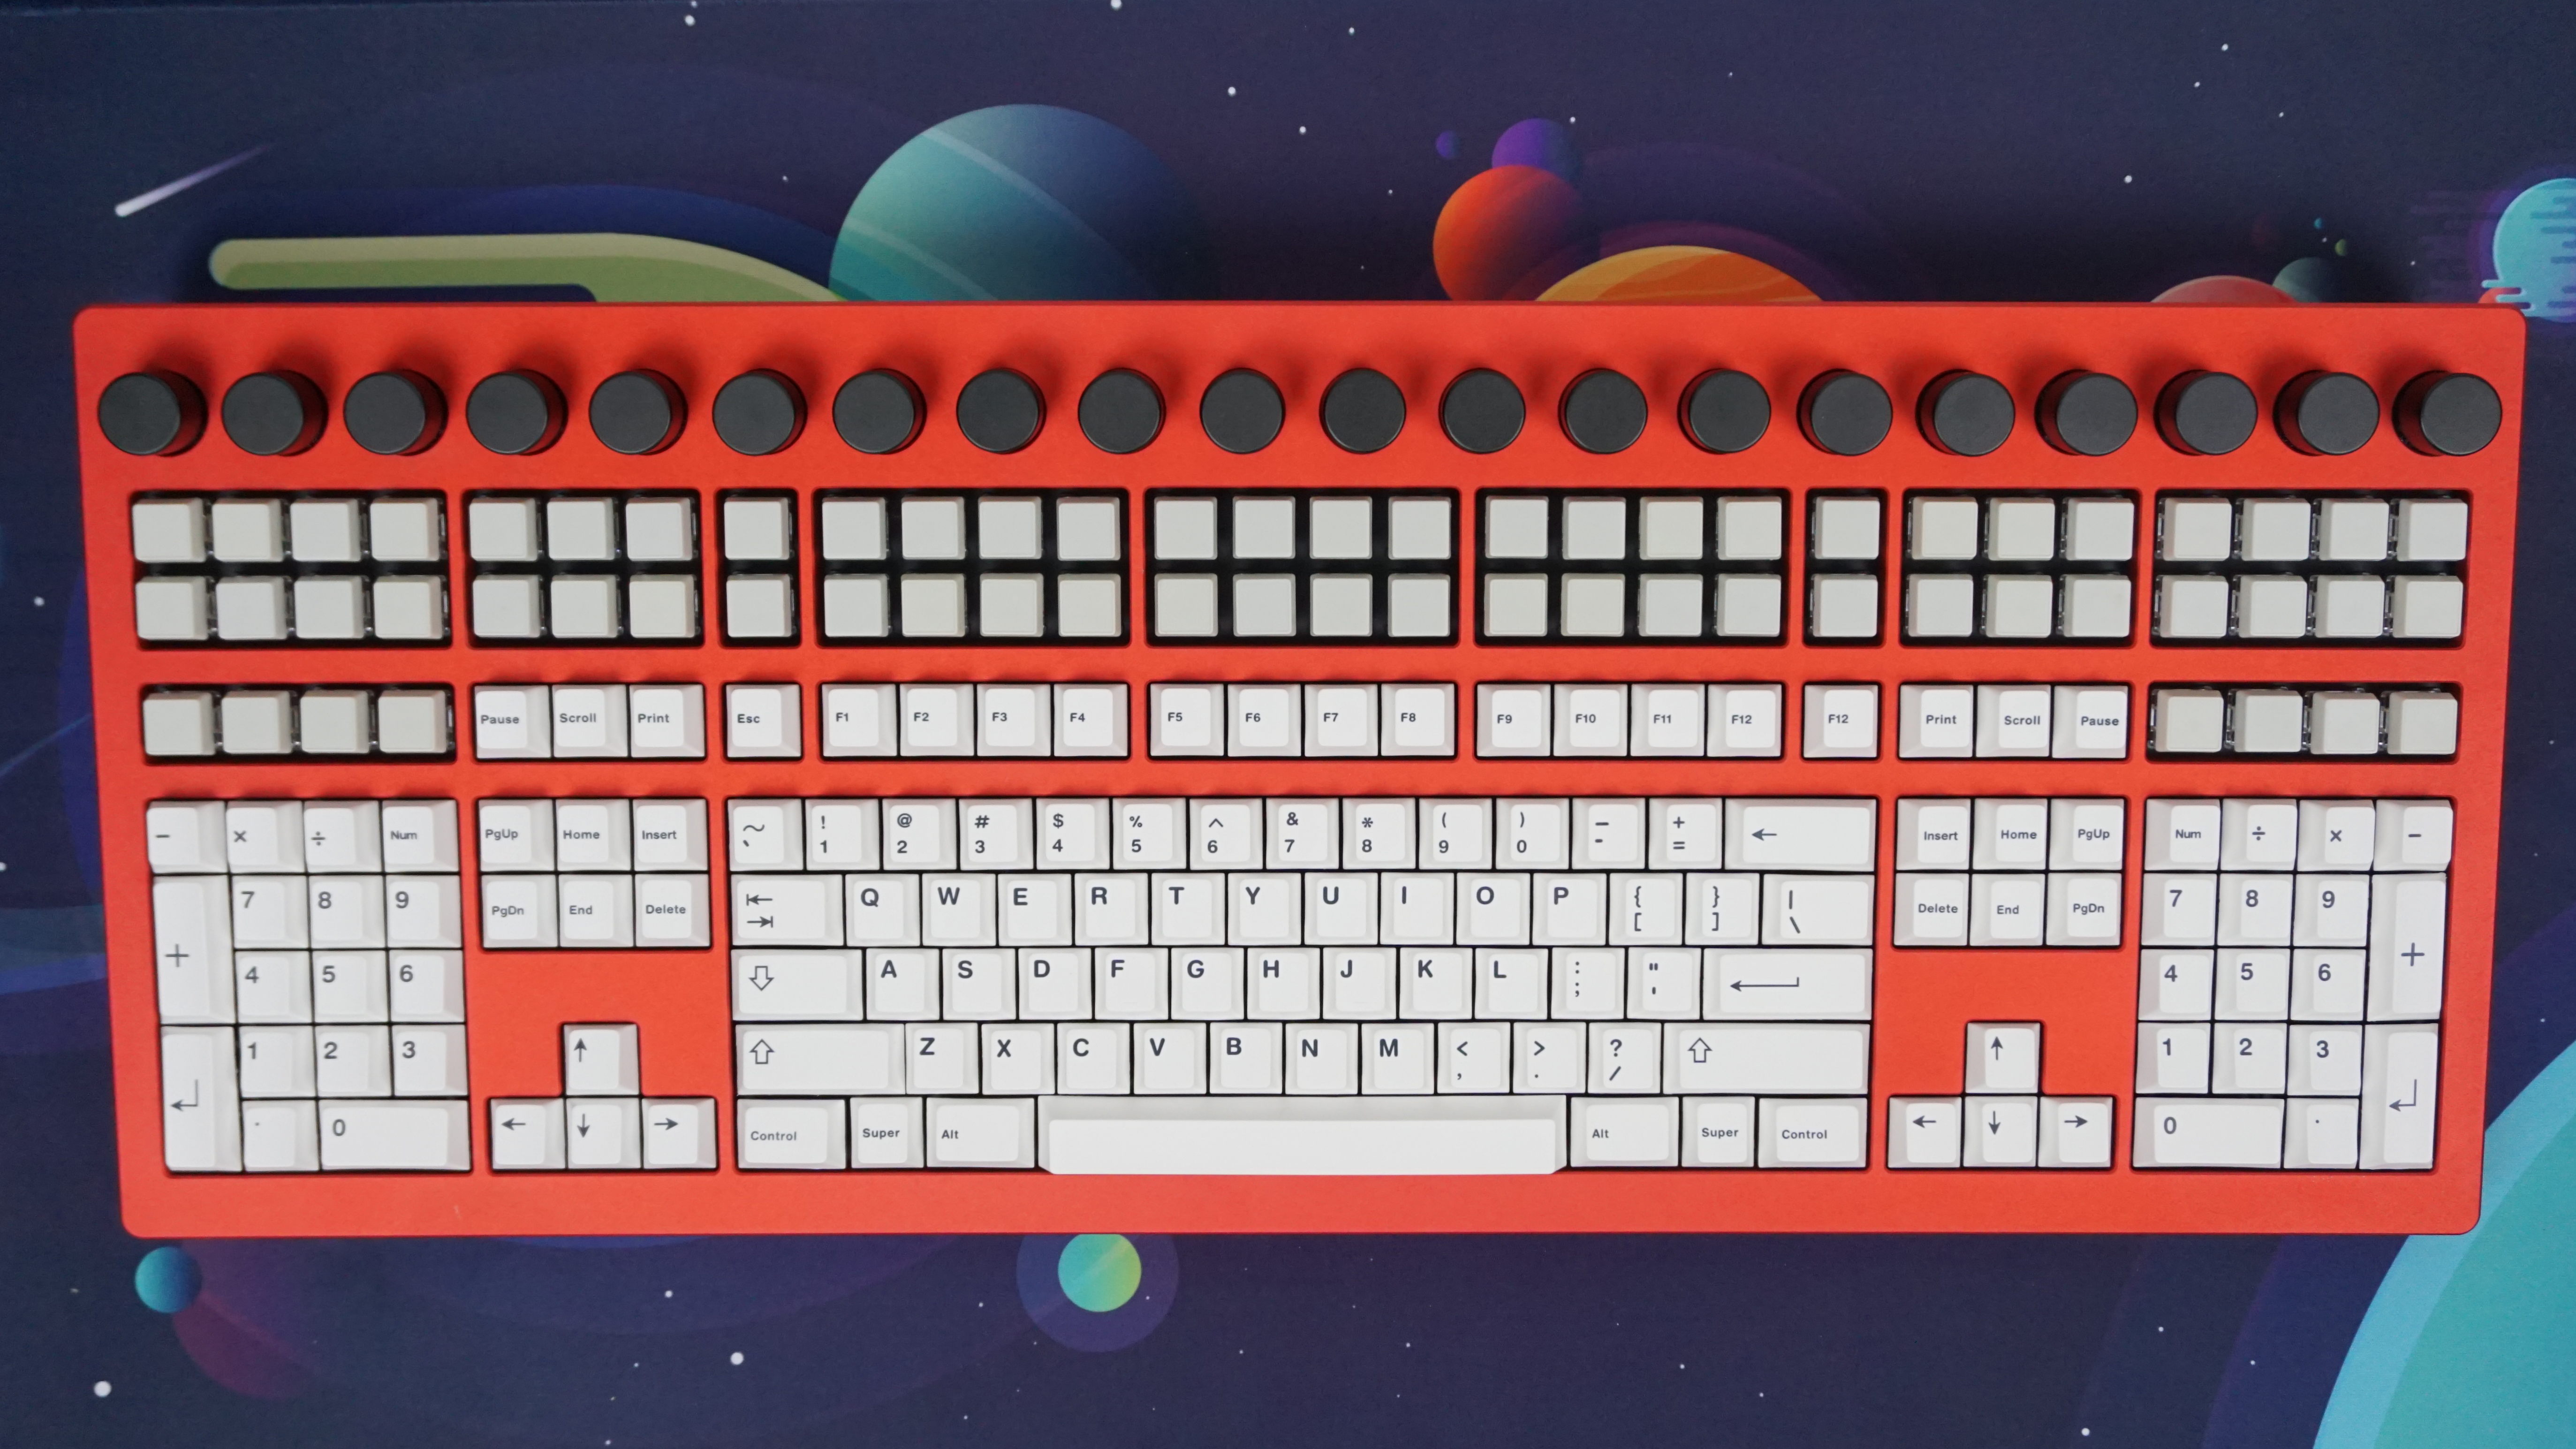
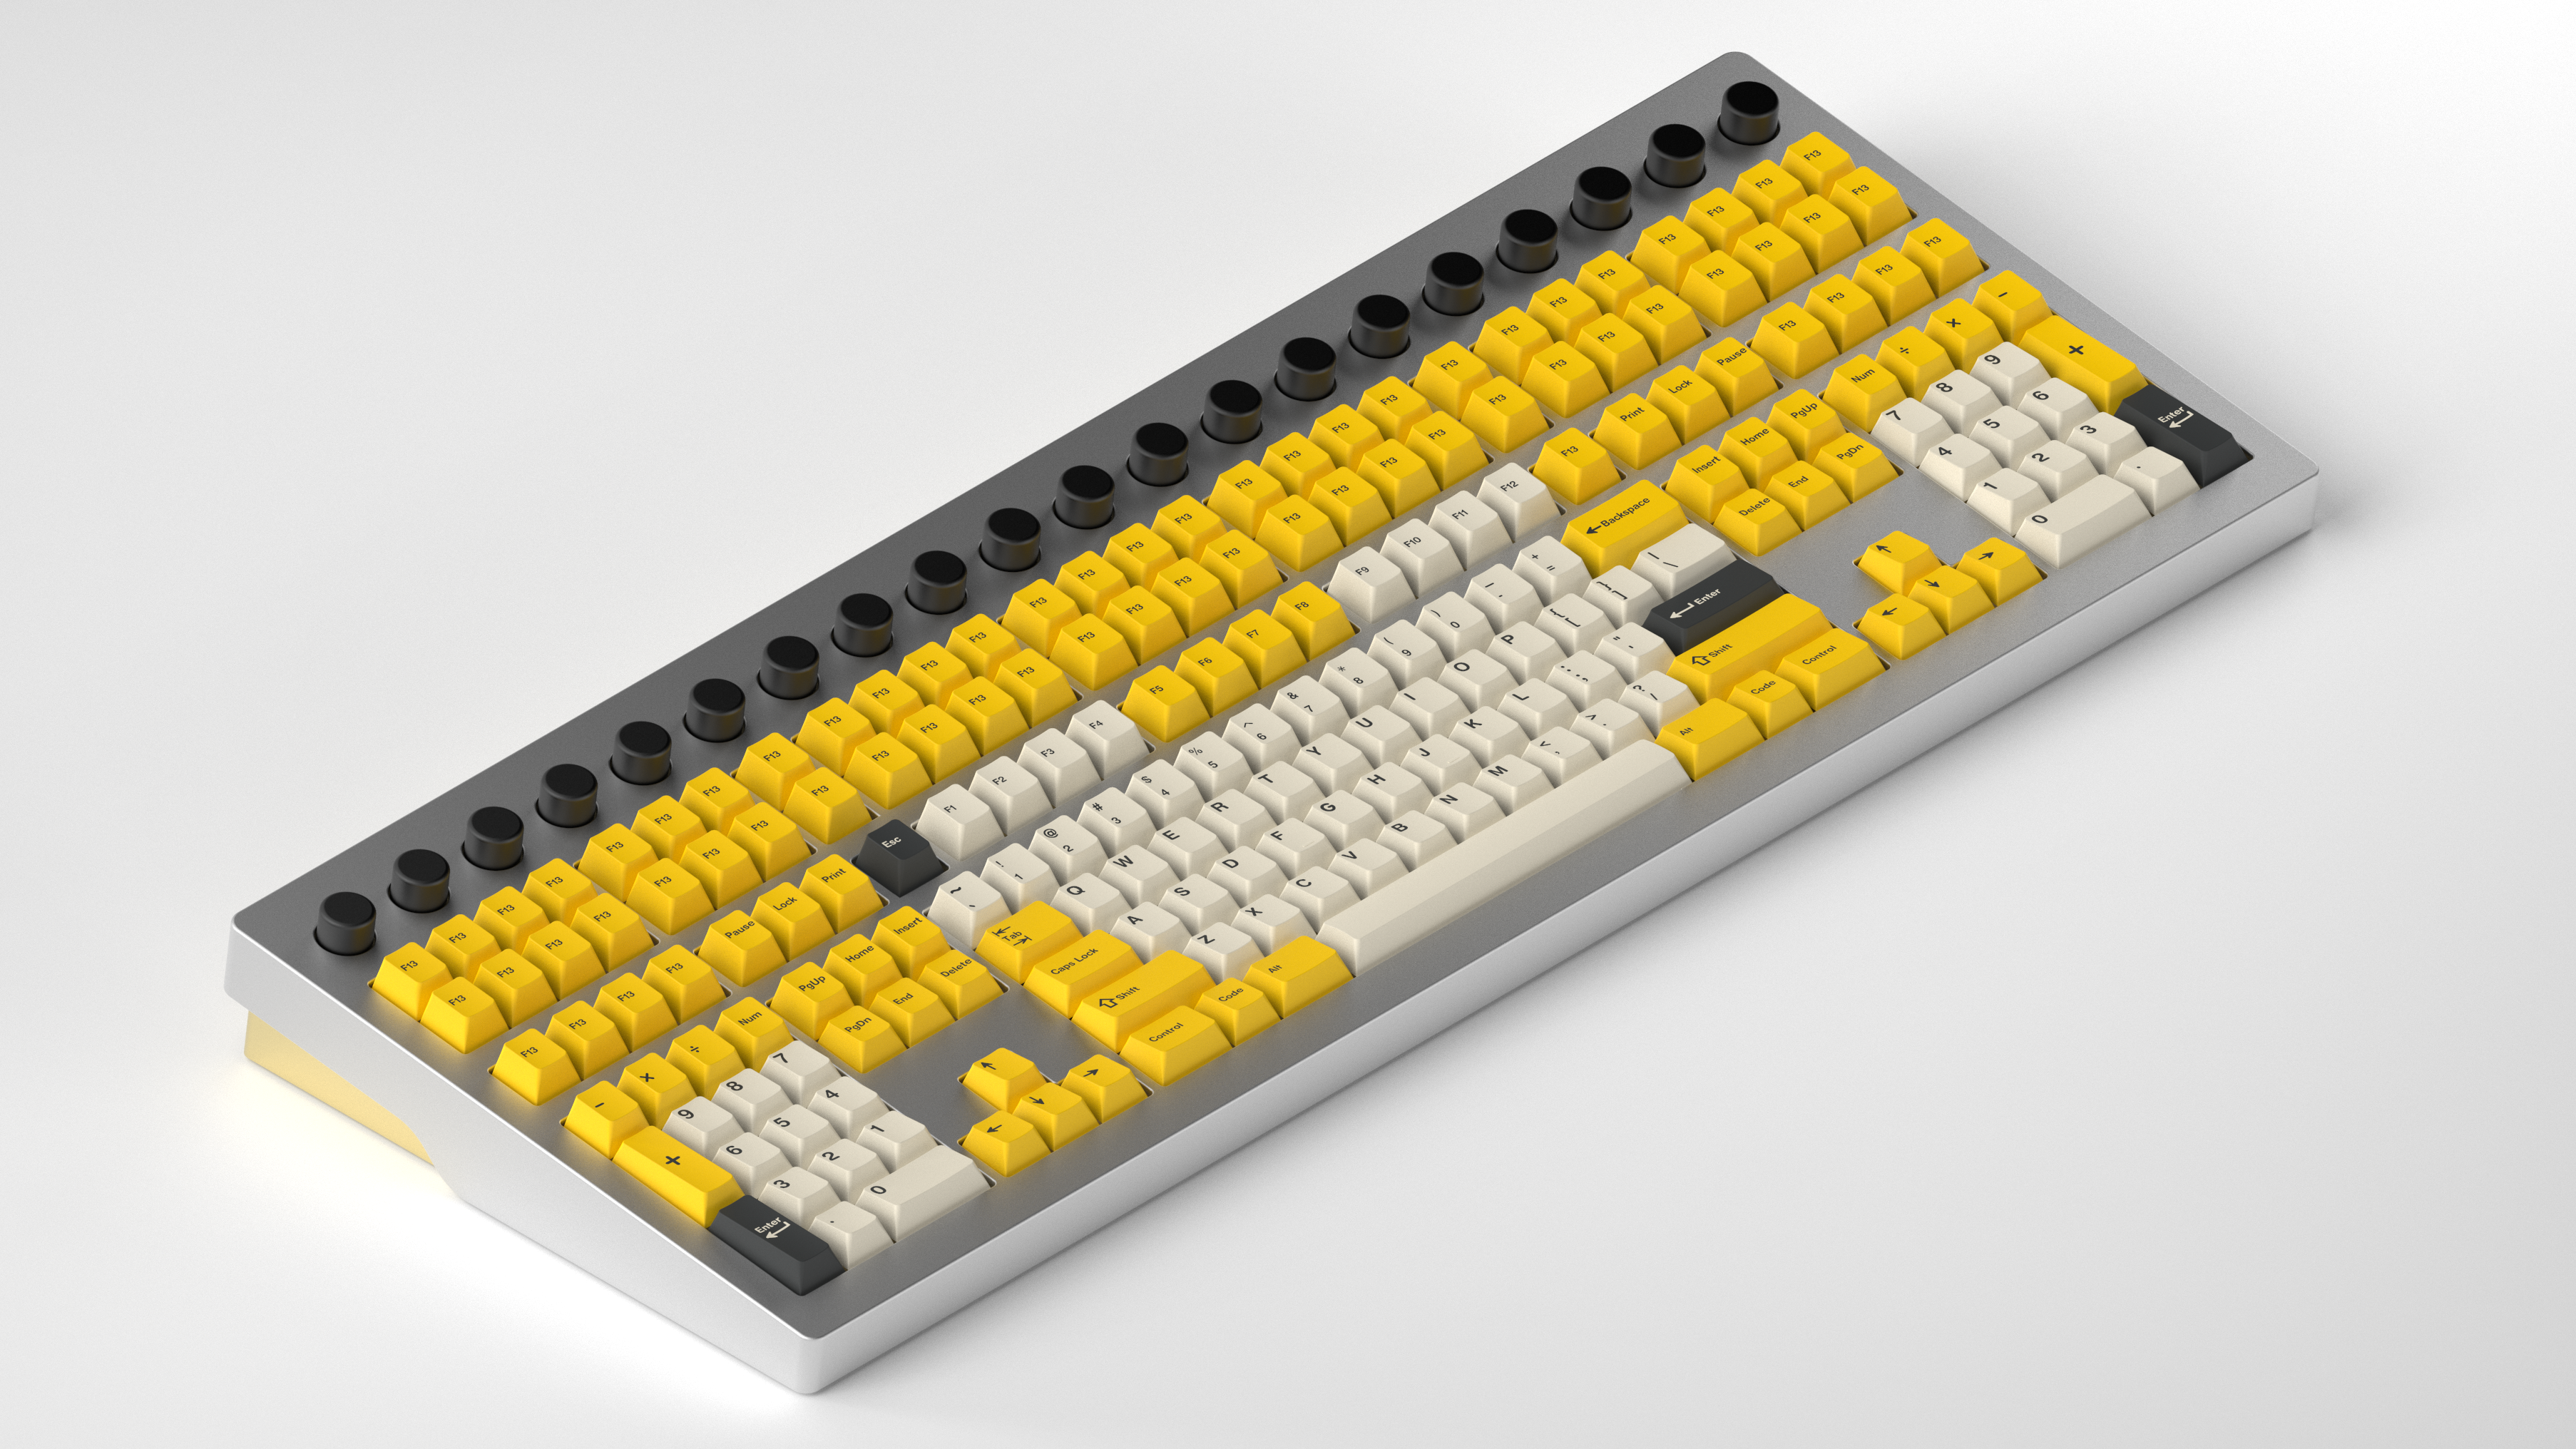
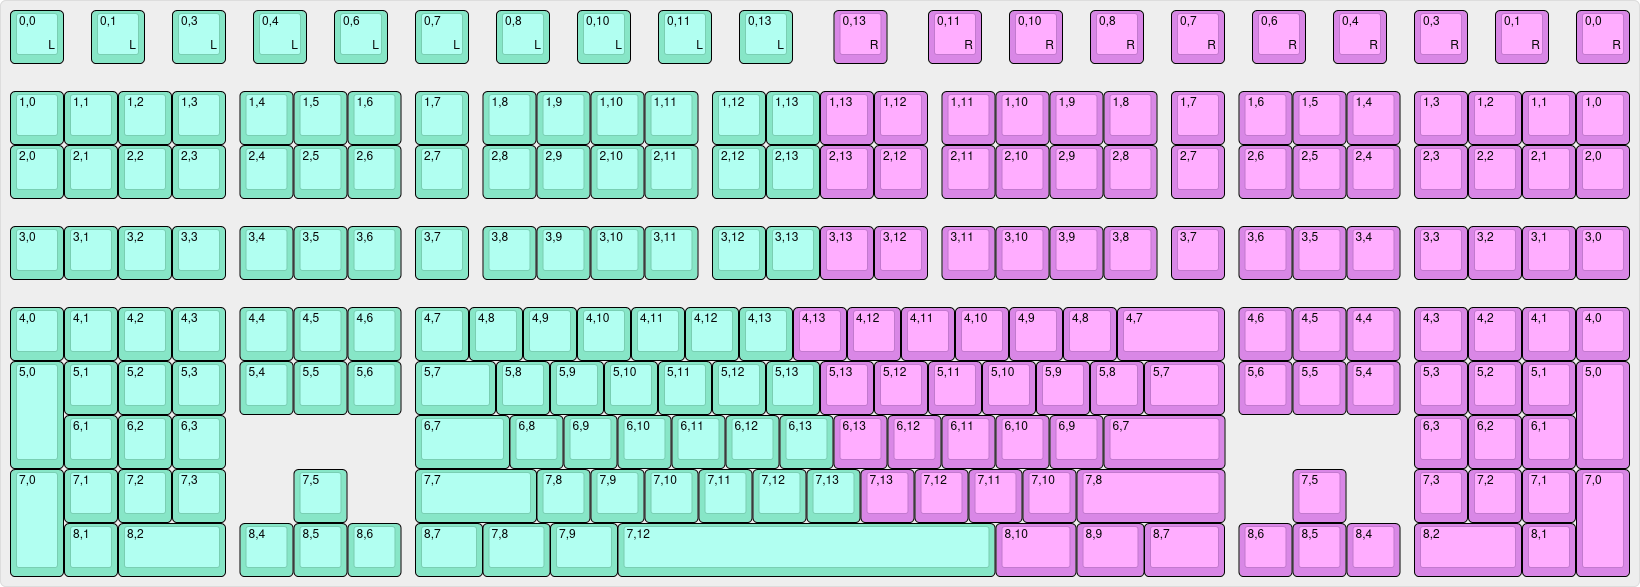
For those who haven’t seen it before, Wombat is a 200ish% percent keyboard designed by Jono, and looks something like the below.
After a few messages trying to figure out the feasibility of handwiring up such a monstrous keyboard, and offers of help from Rory and Ant, I replied to Jono saying I’d be keen to give it a go.
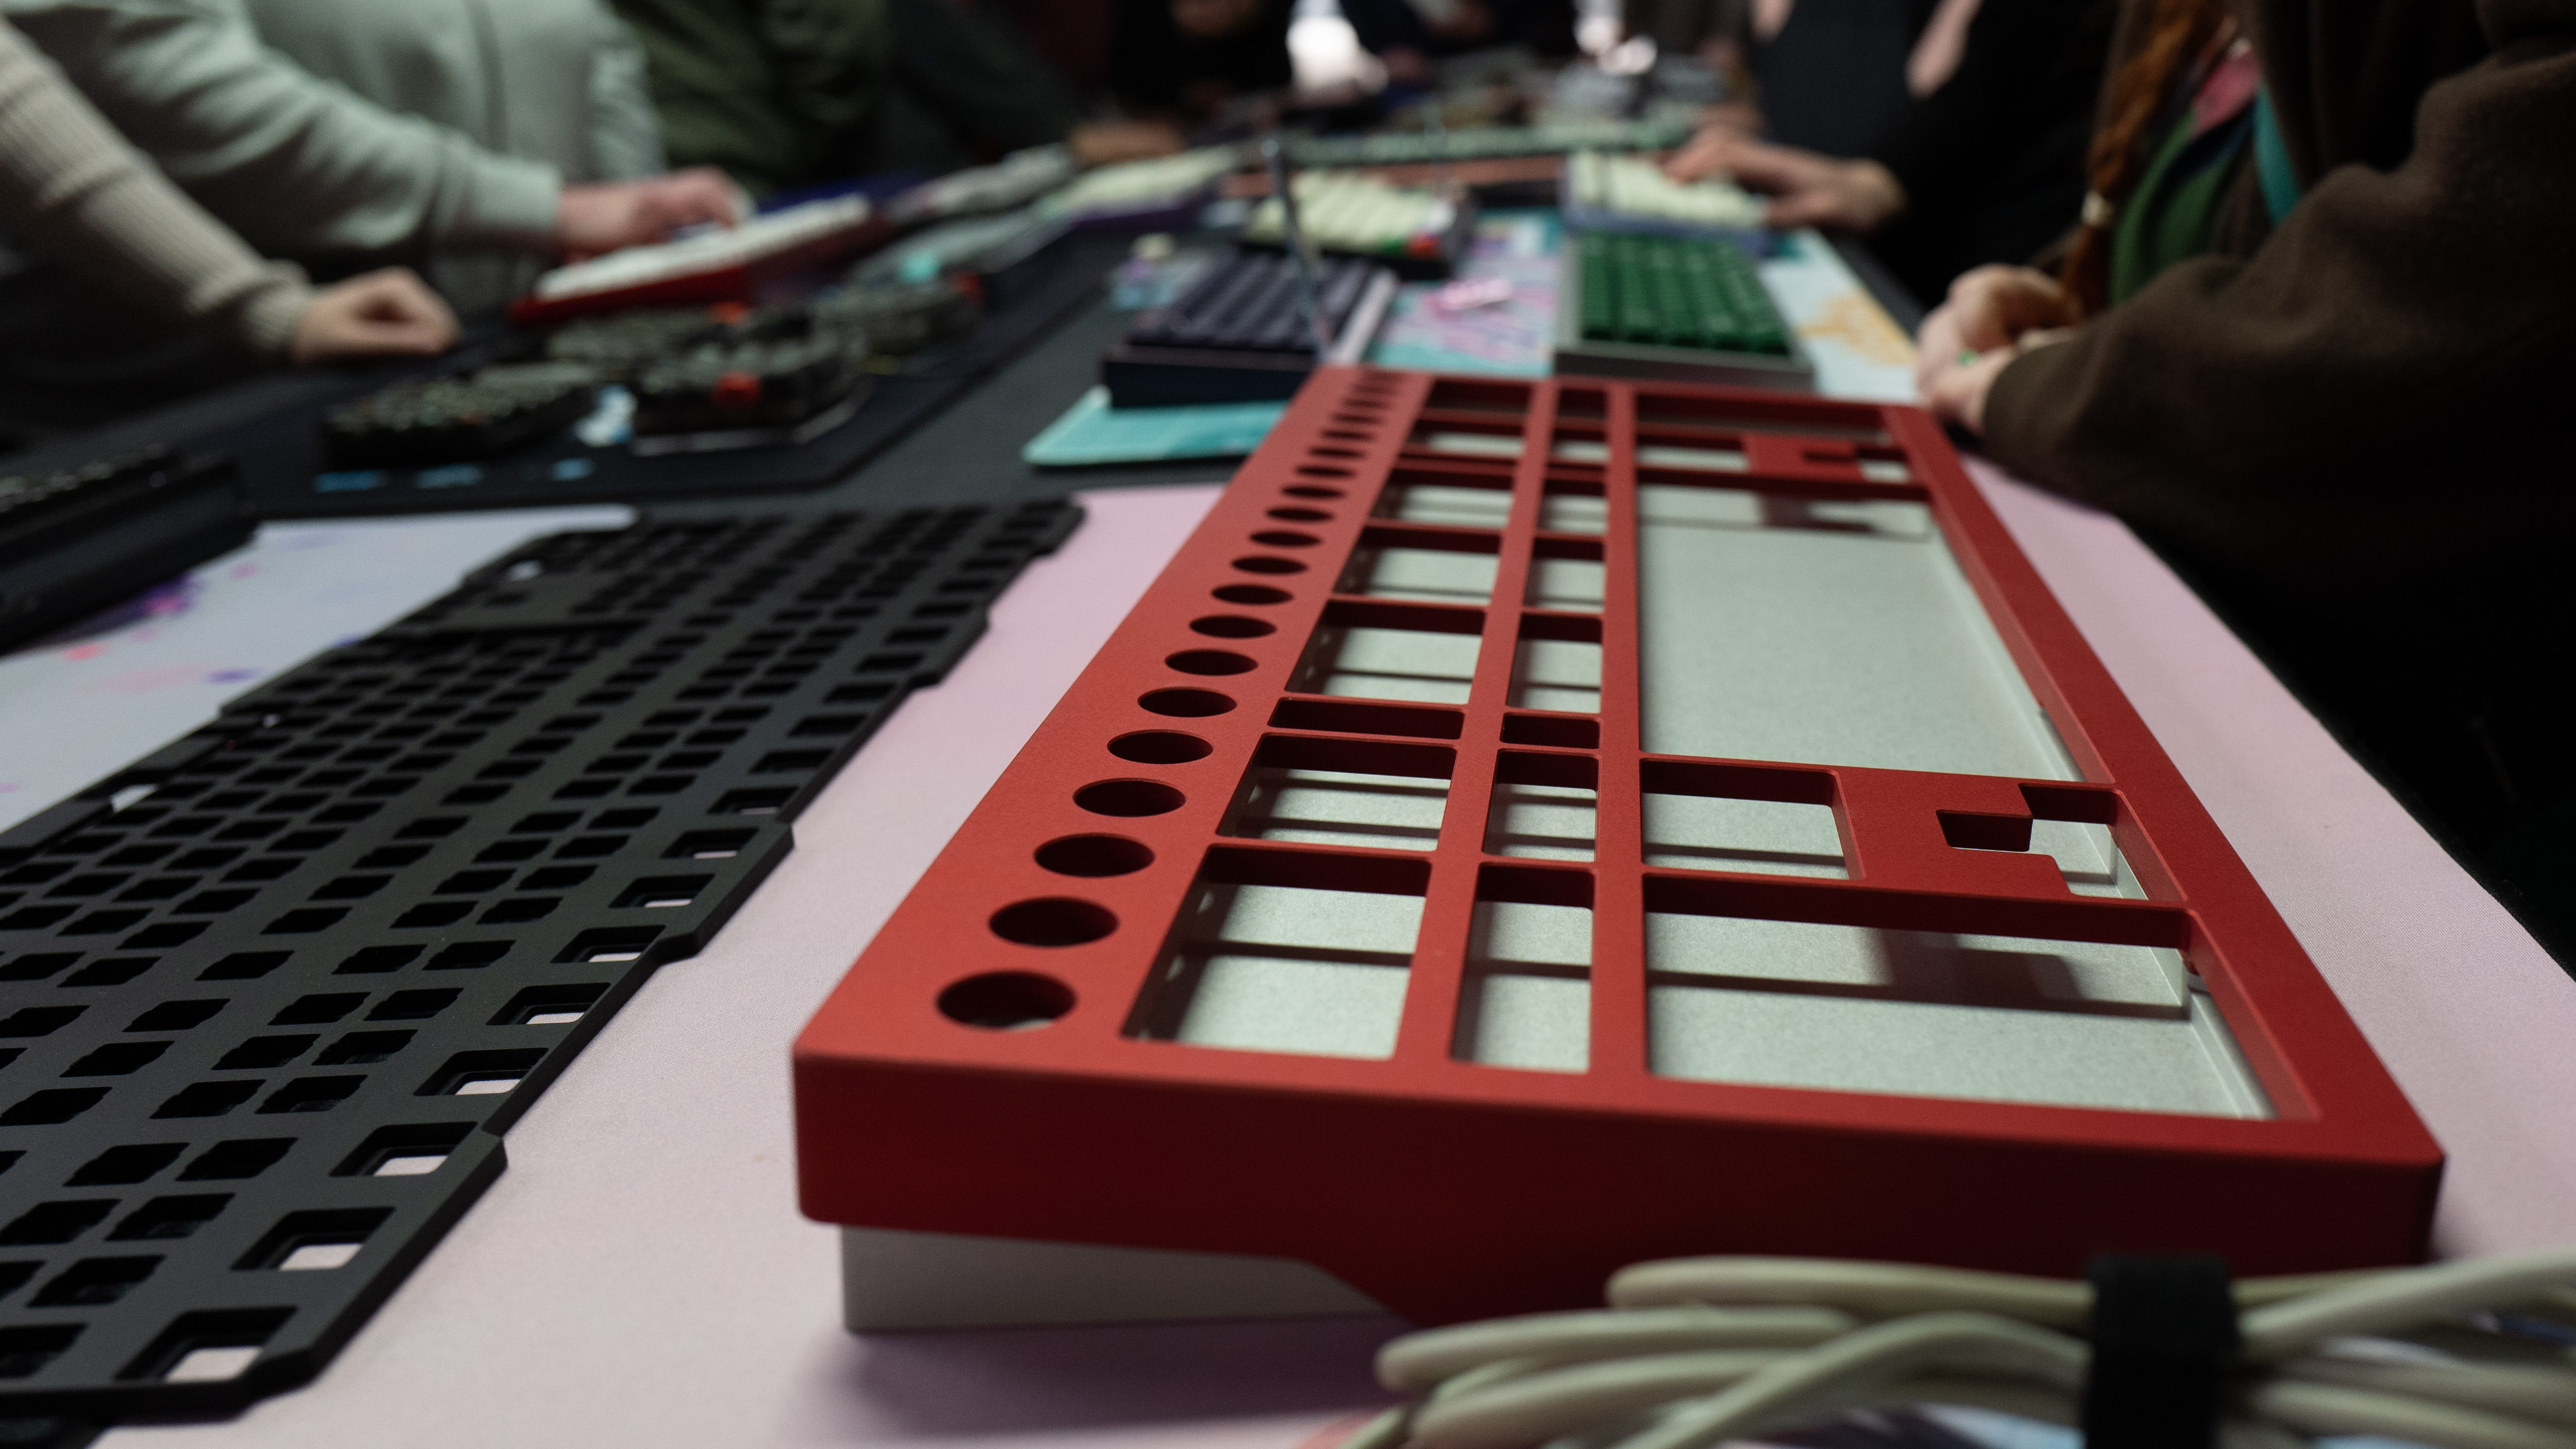
A month or so later, Jono was in Melbourne and called past the CustomKBD meetup to drop off the chassis for the build.
Over the next few weeks Rory designed and I 3d printed stabiliser and encoder mounts, as they are normally attached to the PCB, but we don’t have one!
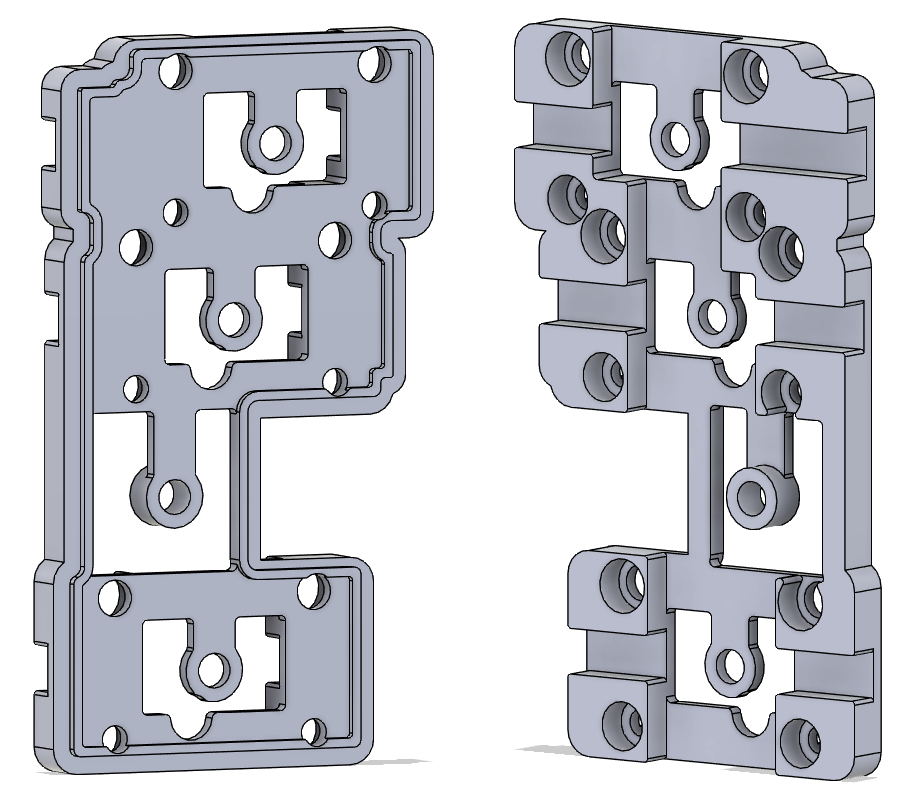
Fortunately the bottom of the case is parallel to the plate, so it wasn’t too challenging to design the parts. Or maybe it was challenging and Rory made it look easy. I’ll never know.

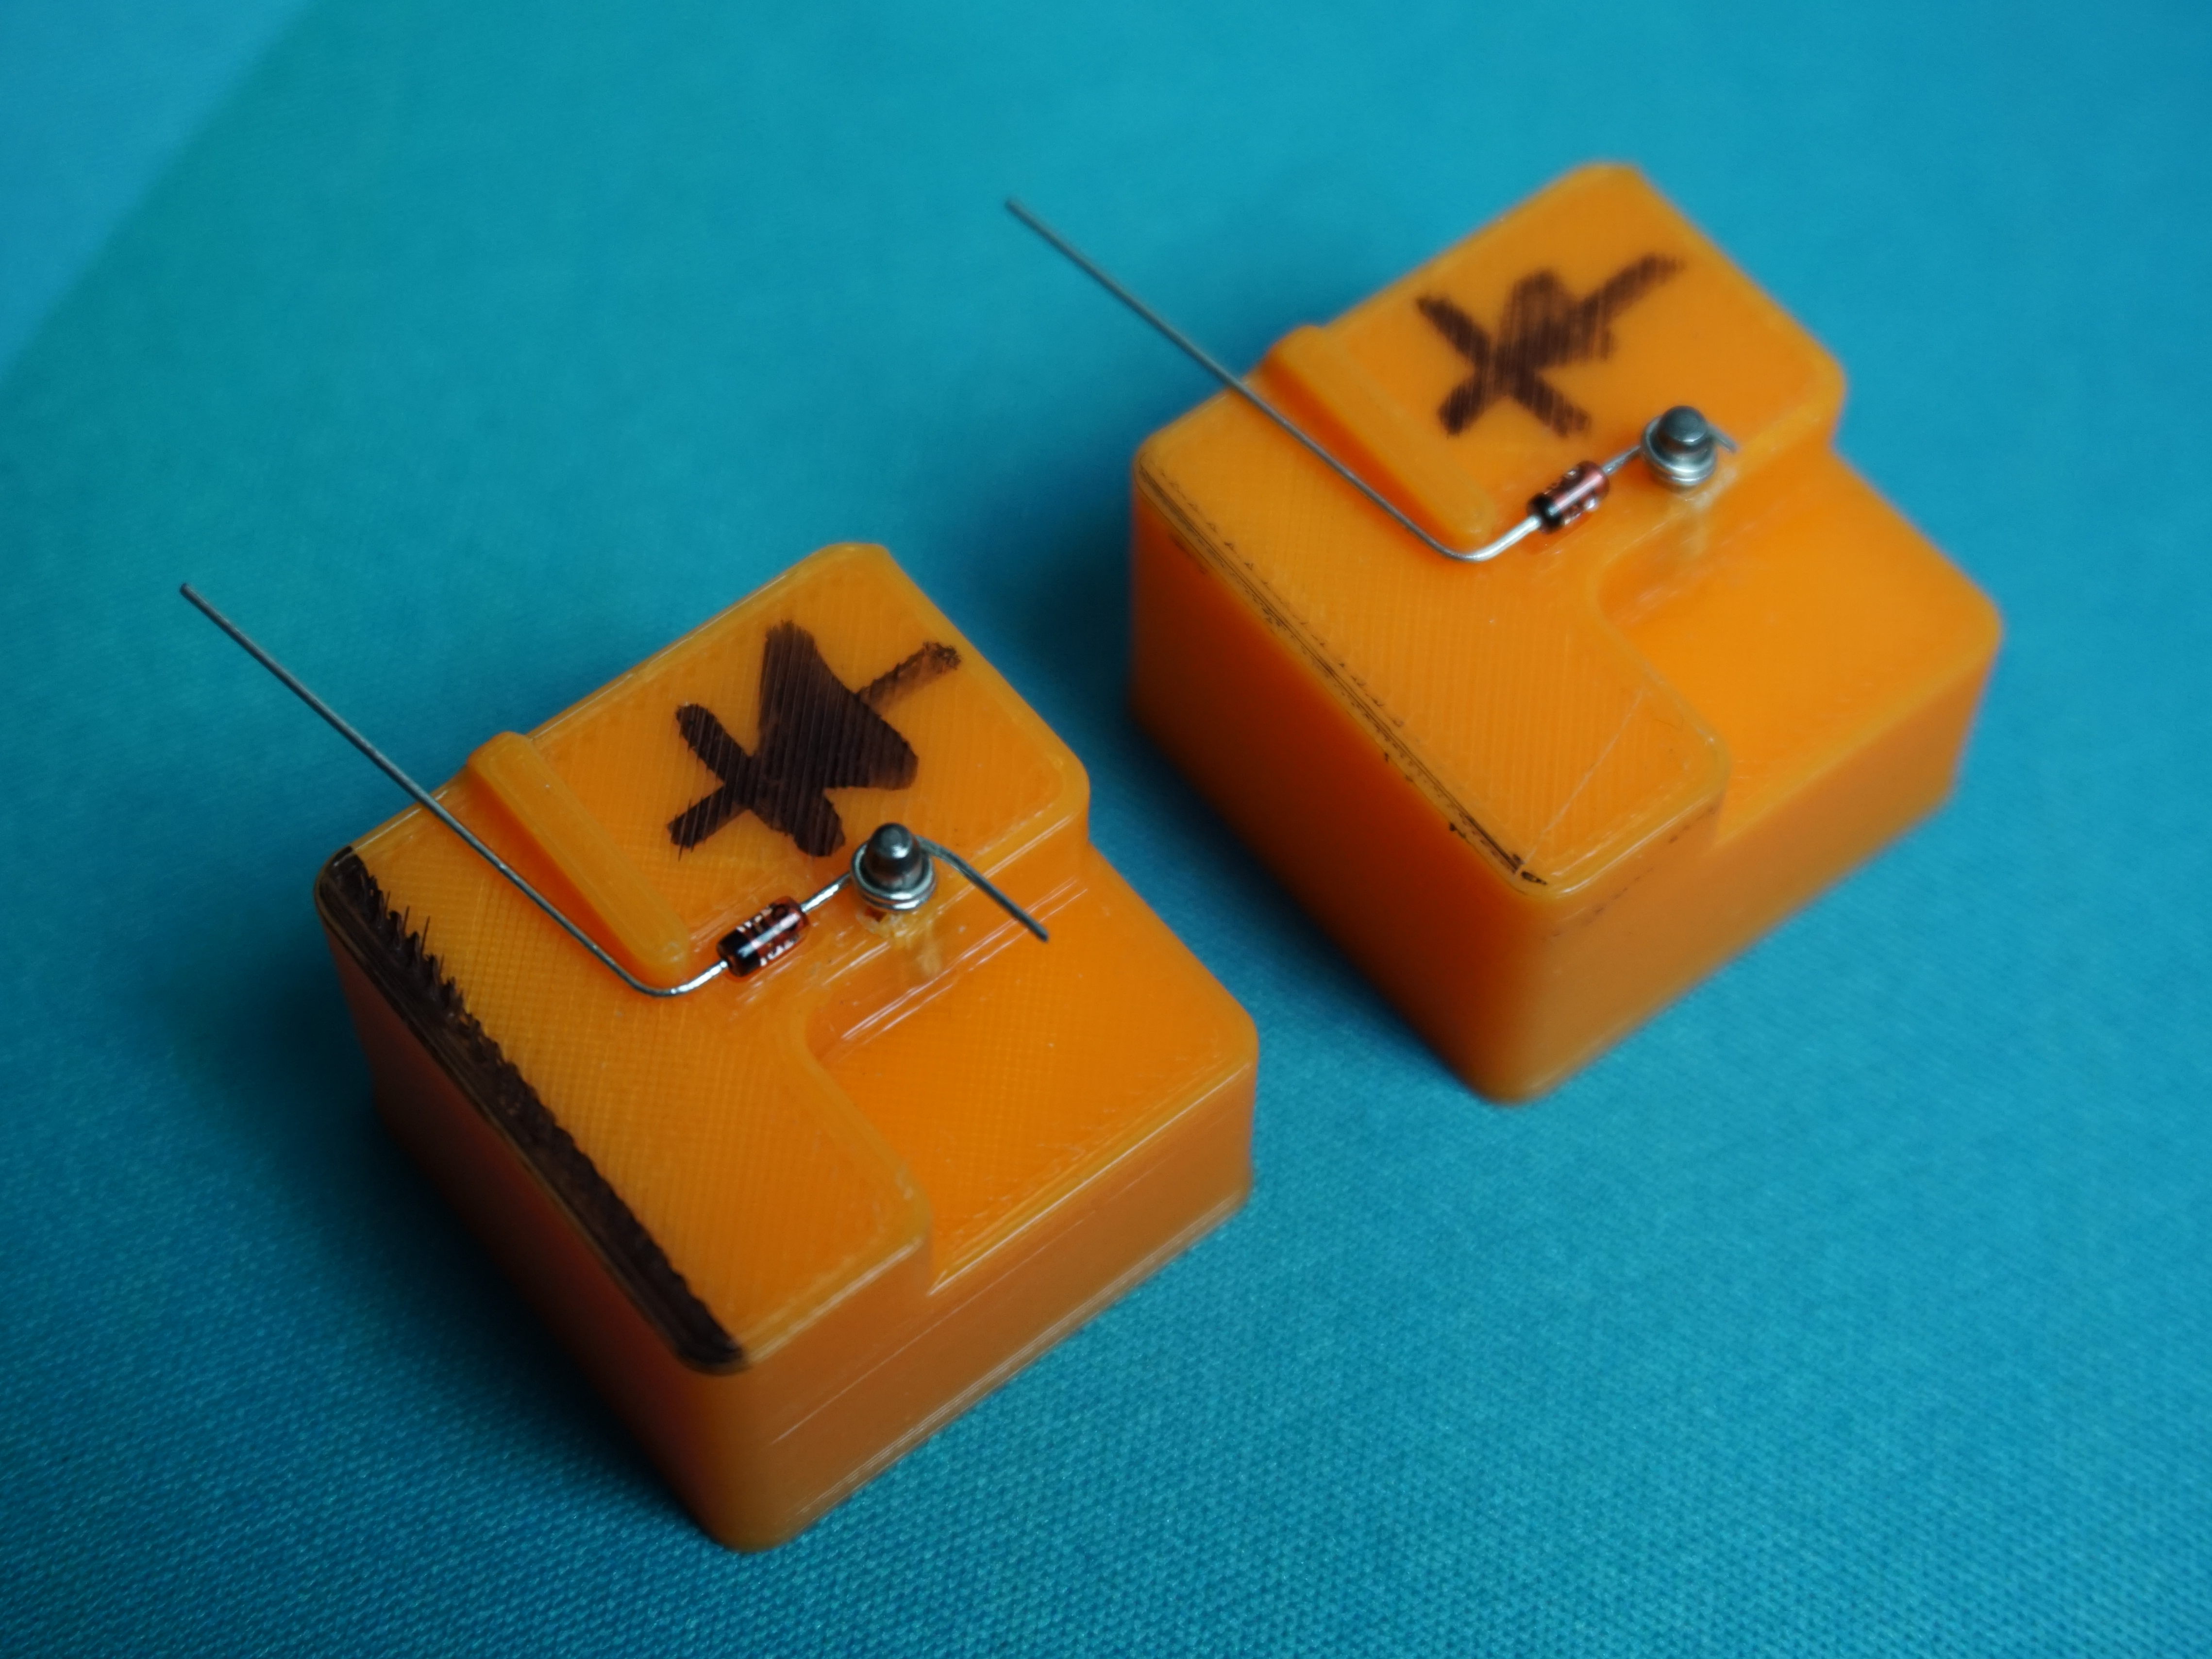
I also designed a diode bender to ensure we got consistent placement of the diodes and that they’d be able to span from key to key.
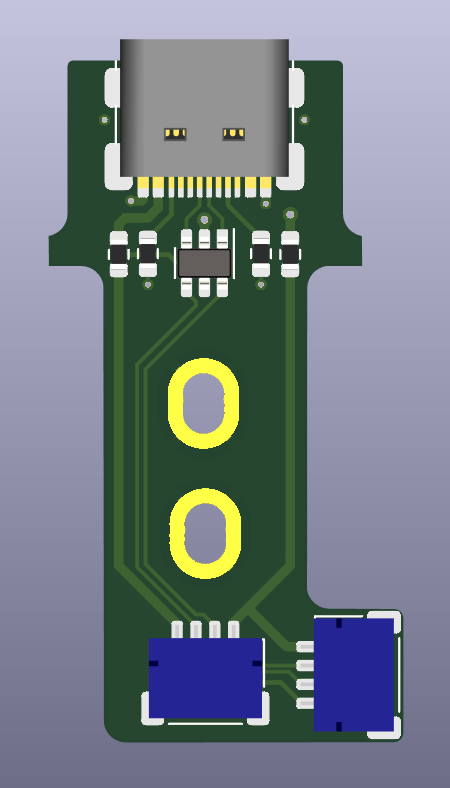
With the mechanical side of things under control, I shifted gears to how we were going to connect all 218 switches and 20 encoders to the host PC. I concluded that two Sea-Picros per side would be the way to go, with one Sea-Picro taking care of the 20 wires for the A/B channels of the encoders, and the other for the 23 column / rows for each half of the board.
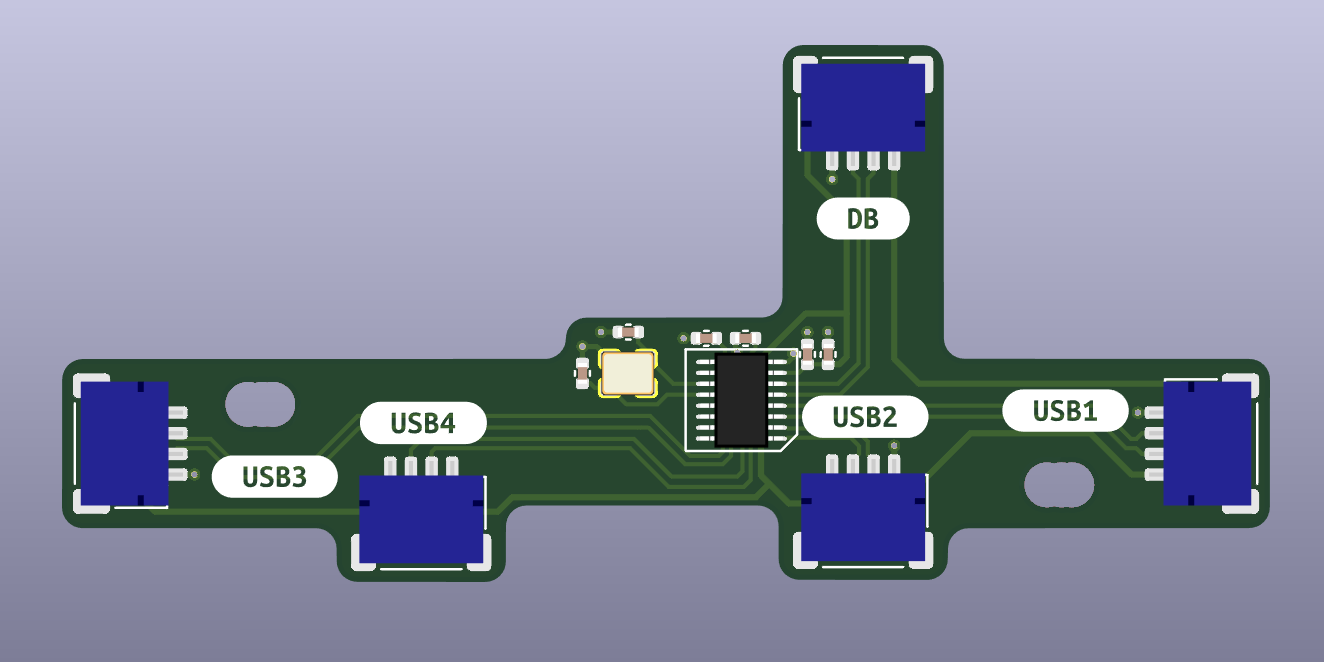
With this said, as Sea-Picro only has 23 IO (plus a dedicated 5V output for driving LEDs), I had to rip off the level shifter for this extra pin and repurpose it to being the wire sending the signals between the splits. Given there are two split keyboards in the case, and only one USB port, I also designed up a 4 port USB hub (all 4 ports are used to flash the micros, and then the slave side of the splits are disconnected before connecting to the host PC), and a daughterboard to fit into the case.
With the above boards being held in by some M2 screws, I cut a JST SH cable down and soldered to each of the Sea-Picros, then hot glued and stuck them all into the case. Prior to gluing the Sea-Picros in, I conformally coated the PCBs to protect all the downwards facing components from shorts and glue, stuck a layer of kapton tape on top, then threw hot glue on the kapton tape and fitted to the plate. Kapton tape was also applied to the plate, as the hot glue did not stick to the anodised aluminum.
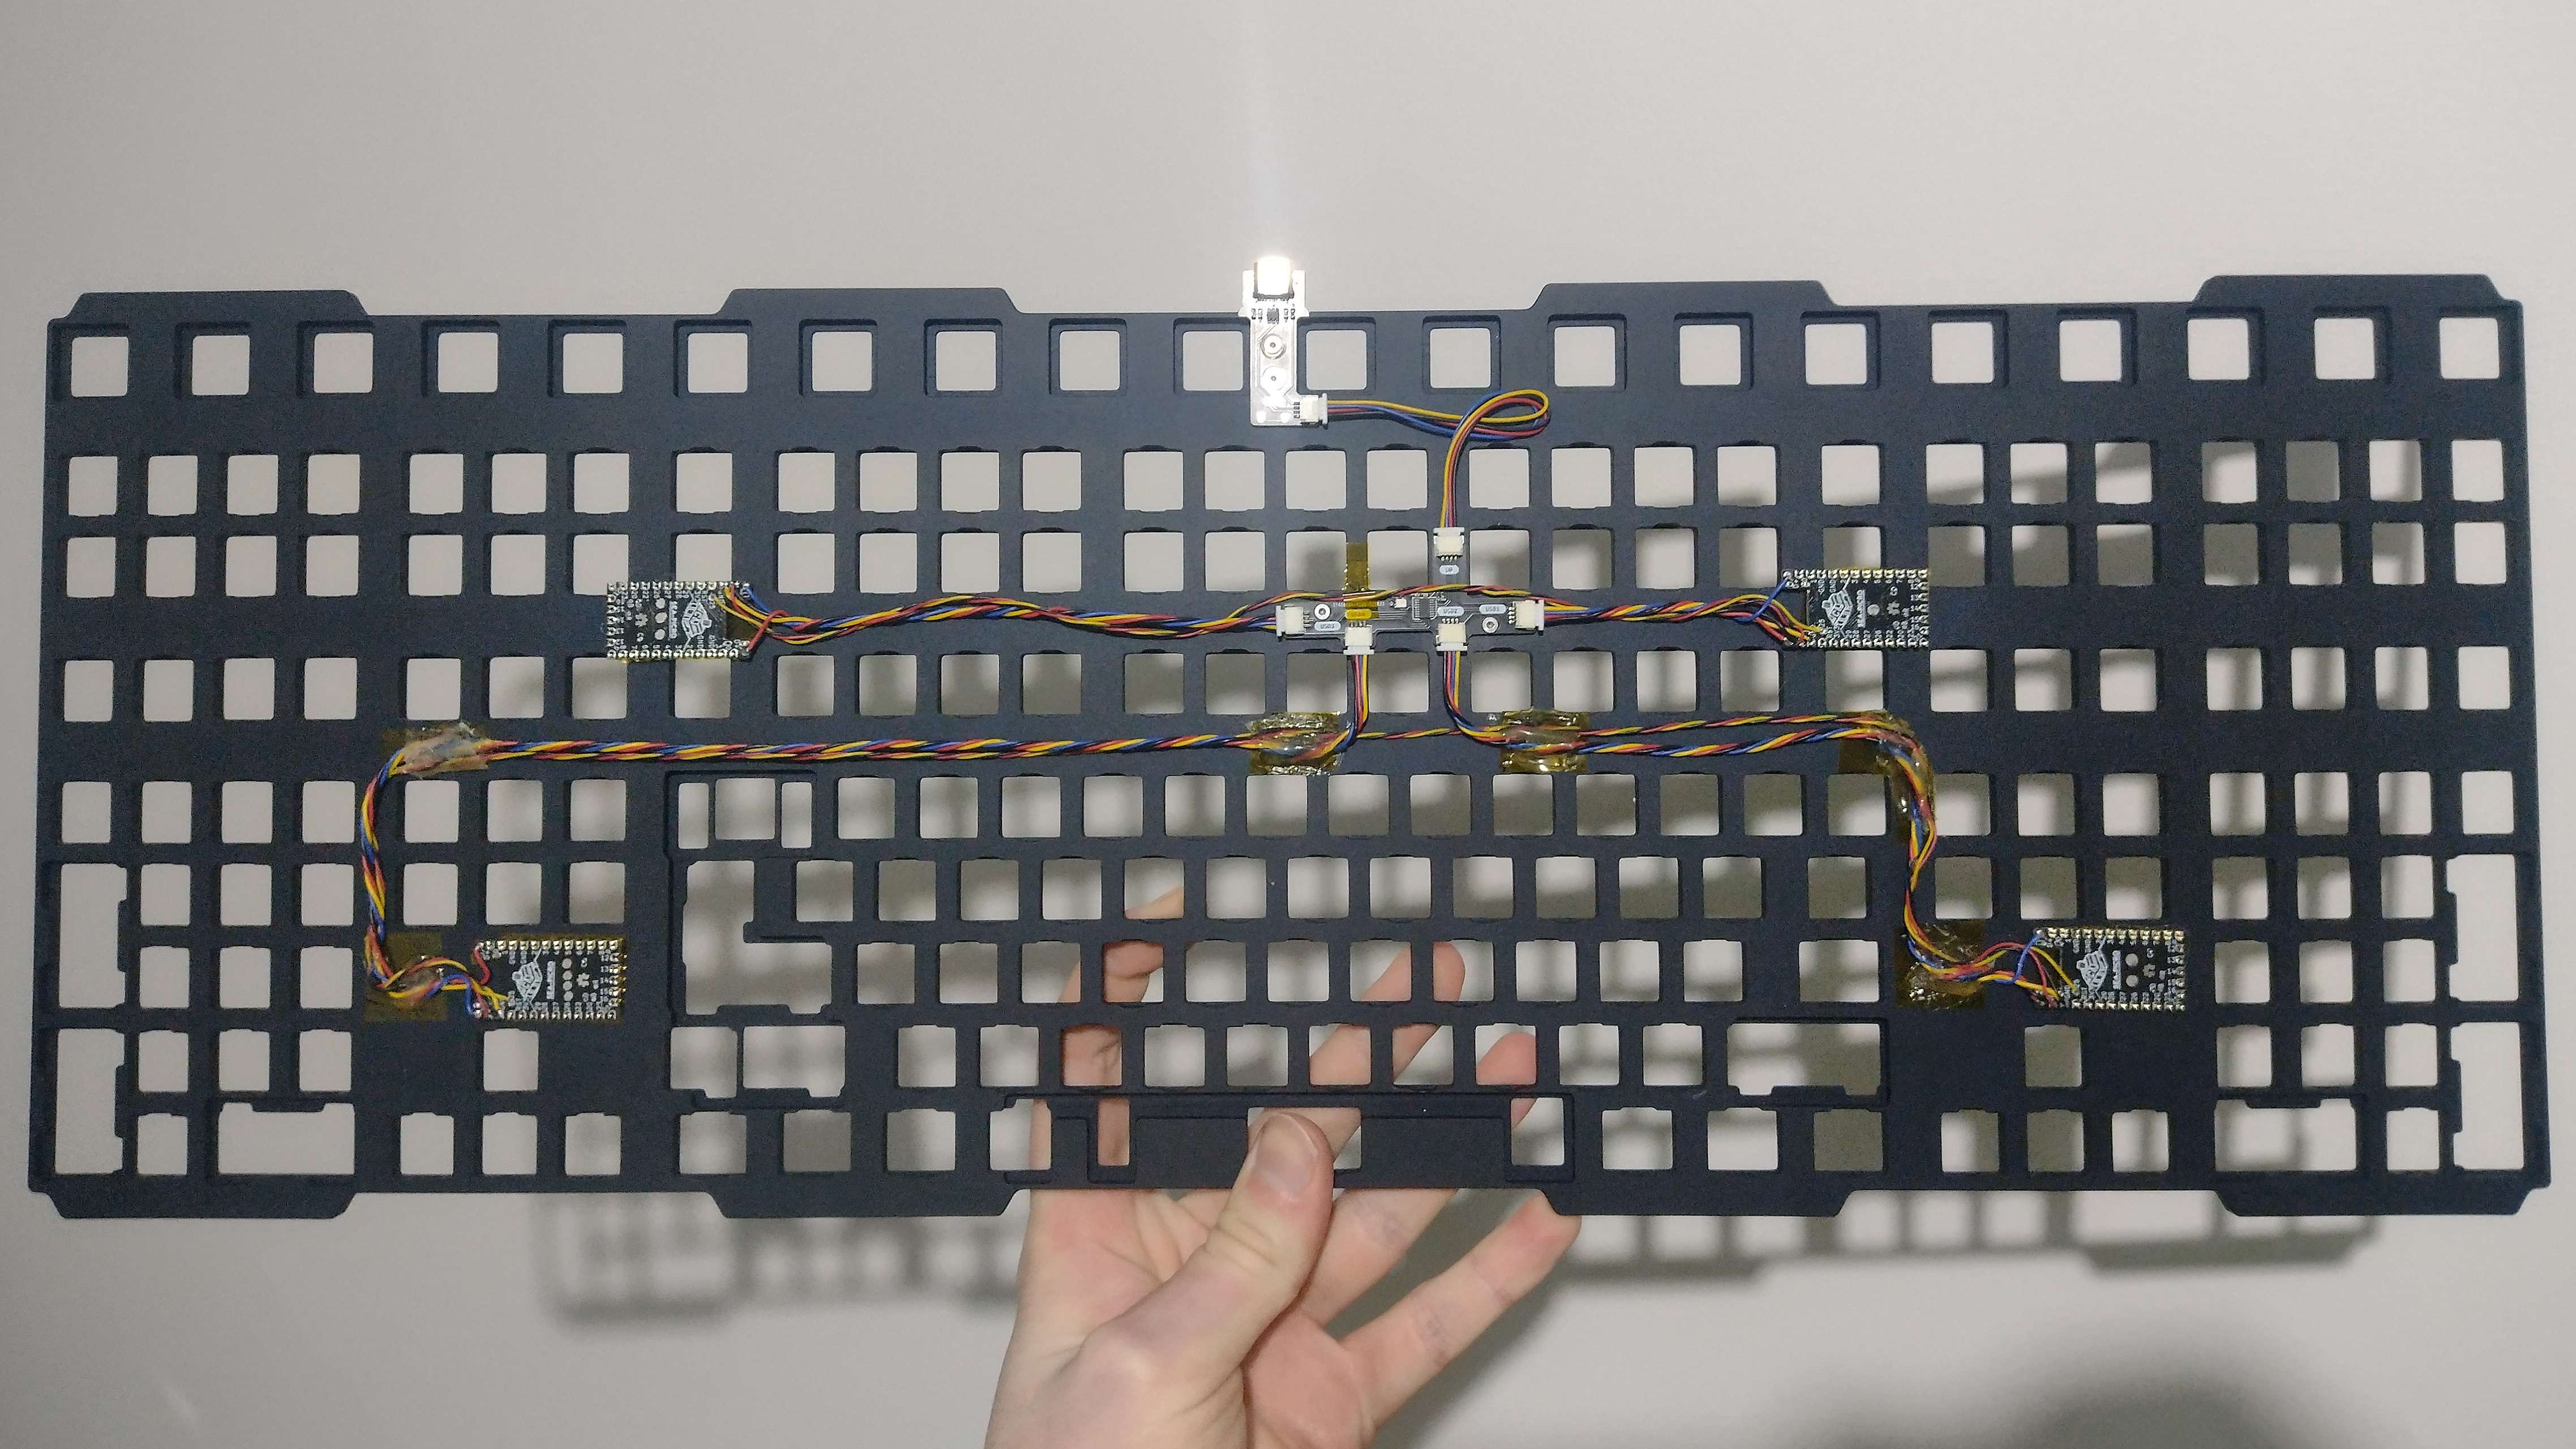
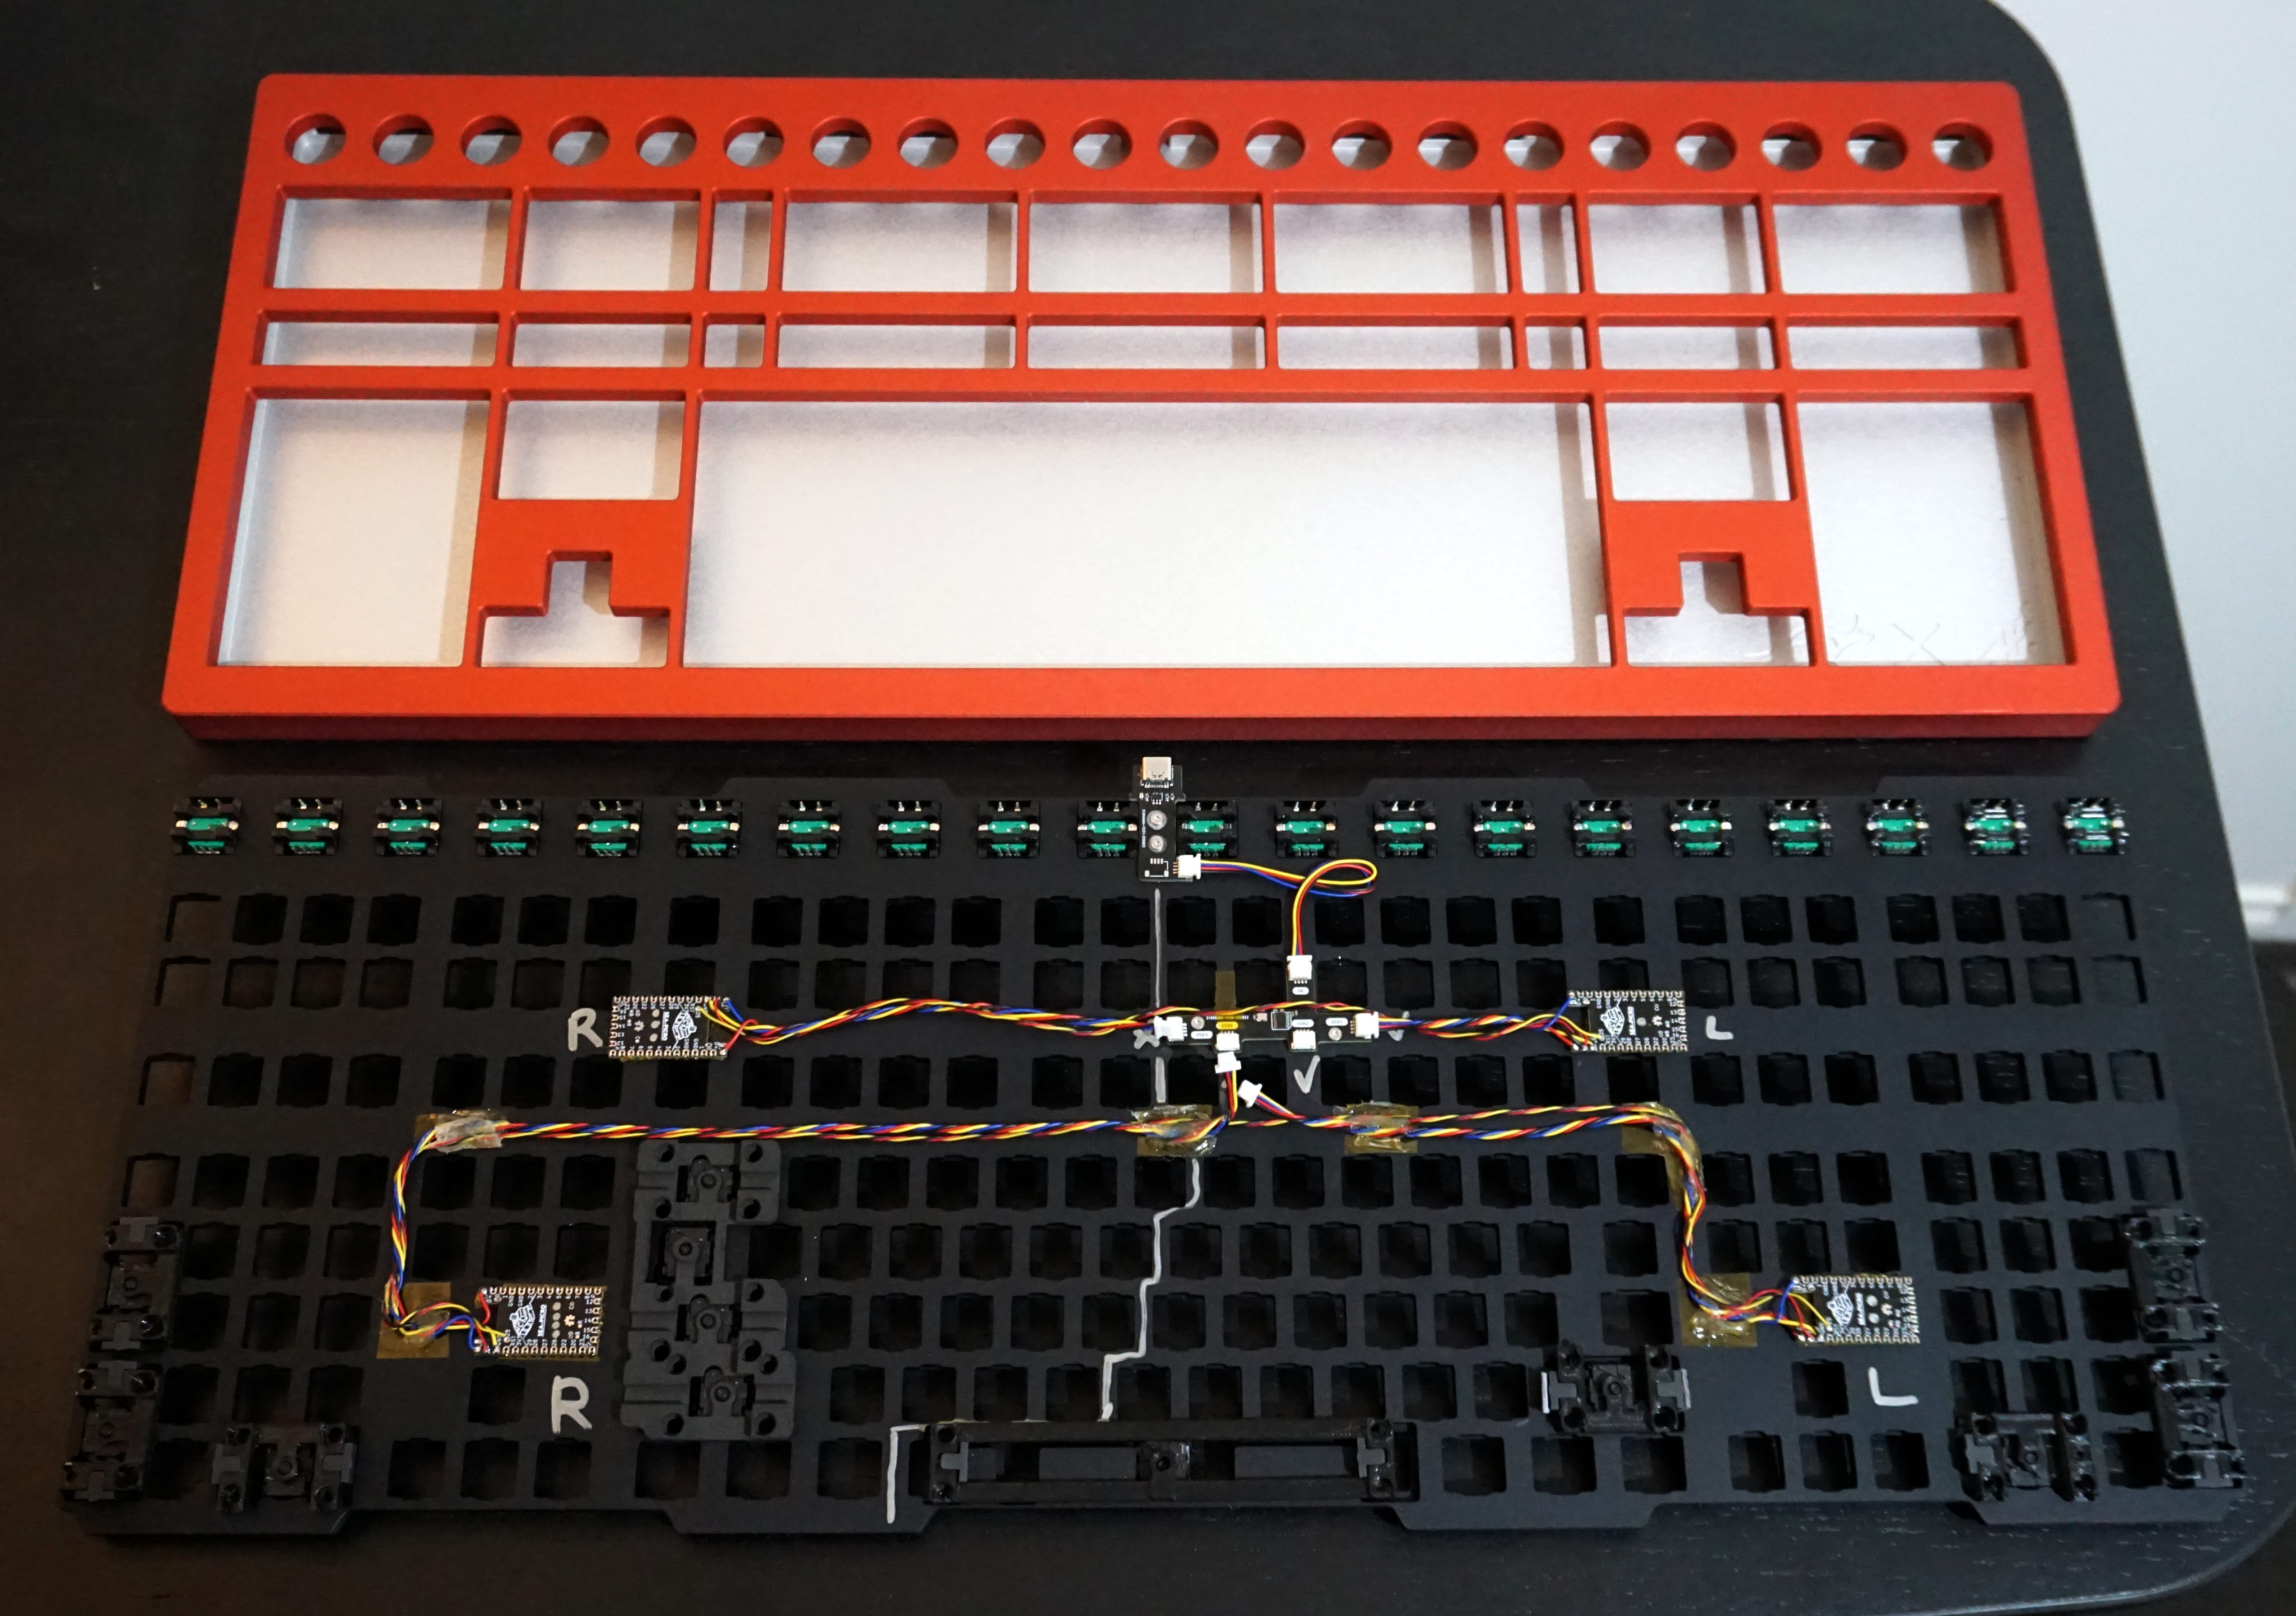
With the electronics sorted, I installed the rotary encoders, stabiliser mounts, and marked up which side of the board was which, and we were ready to begin the handwiring process!
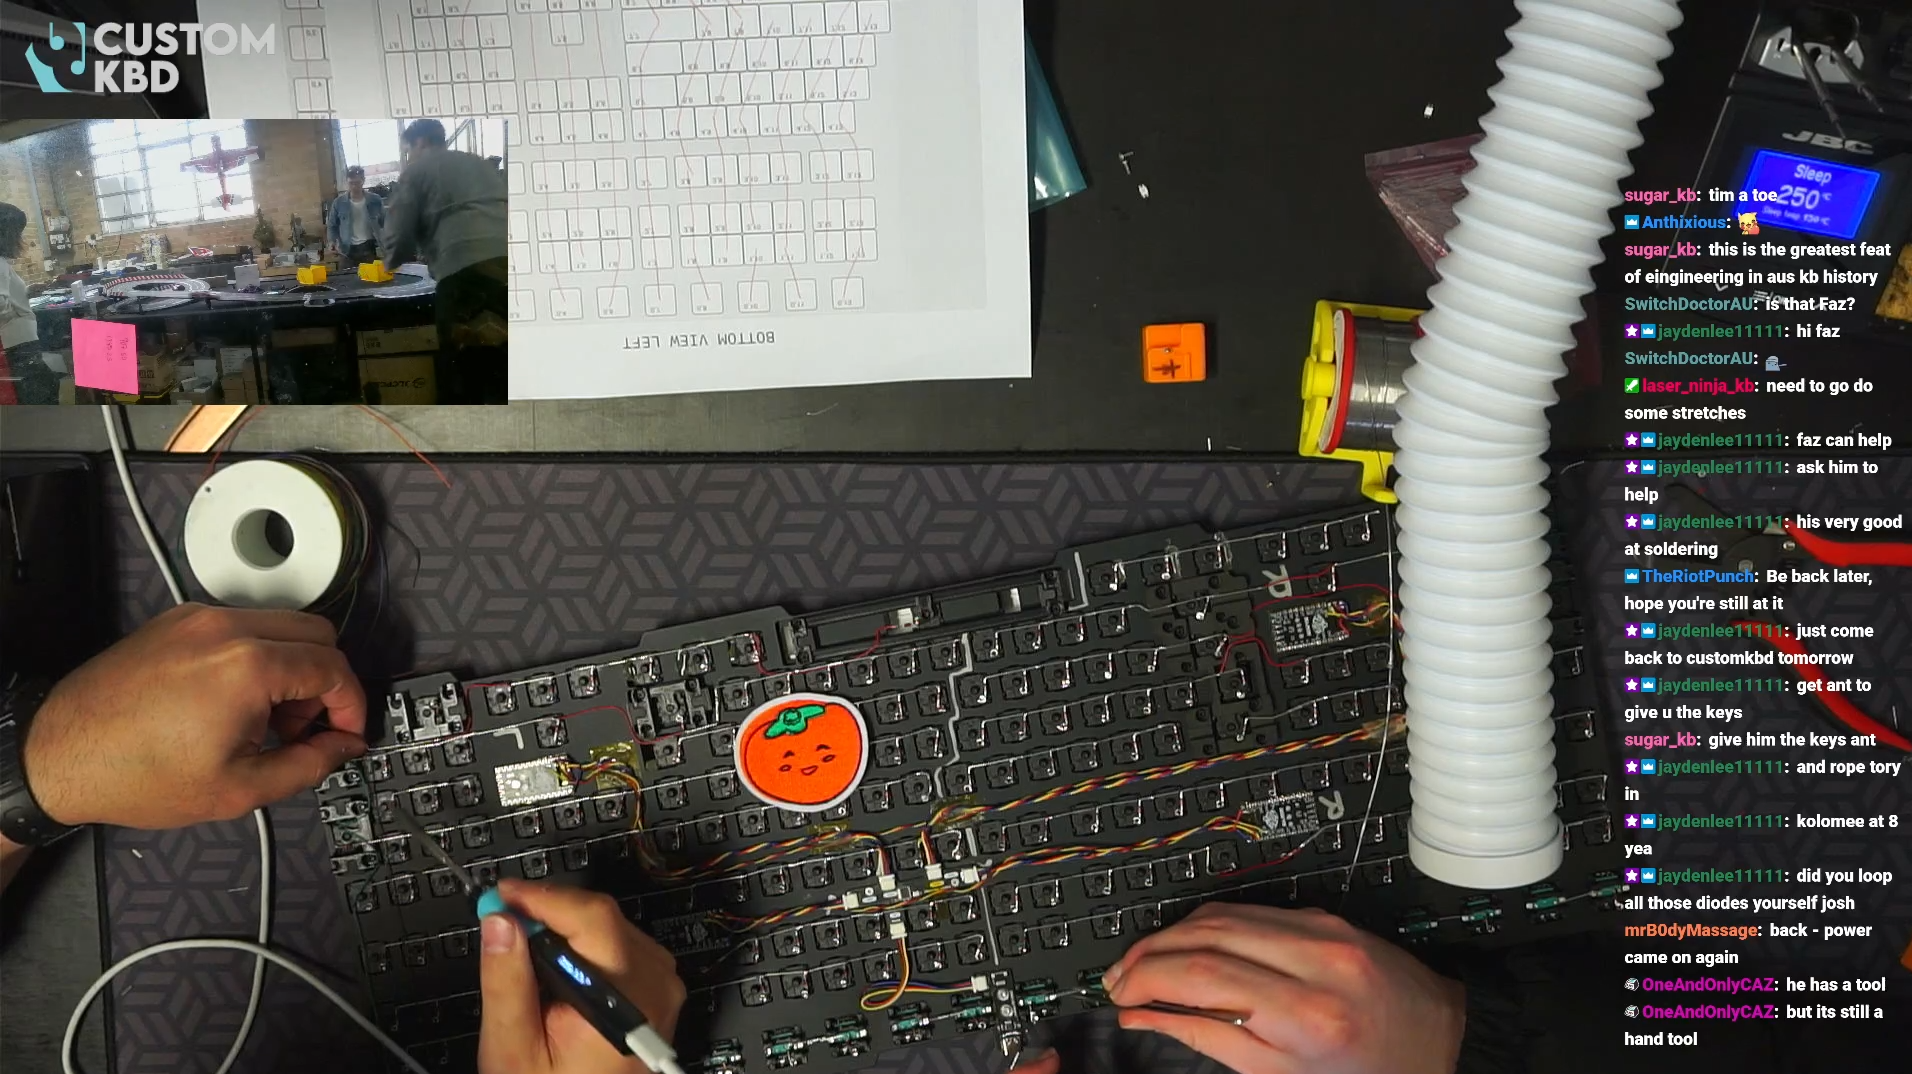
Come stream day, I had high hopes we’d be able to get the matrix up and running, but I wasn’t too sure about the encoders. We started the day with Rory lubing stabs whilst I bent and soldered diodes, to Rory bending diodes whilst I soldered them, to finally Rory playing with slot cars whilst Ant gave me a hand soldering diodes. After multiple declarations of “all the diodes are done” followed by finding some which were not, we wrapped up the day seven hours later with all the diodes having been soldered.
Over the next week I proceeded to spend an additional eleven hours streaming the handwiring destroying my back, until we finally got the below monstrosity completed.

With the electronics up and running, I taped the bottom of the case to prevent shorts and added extra tape under the stabs to try and damp any noise coming through the direct contact of the stabs to the bottom of the case.
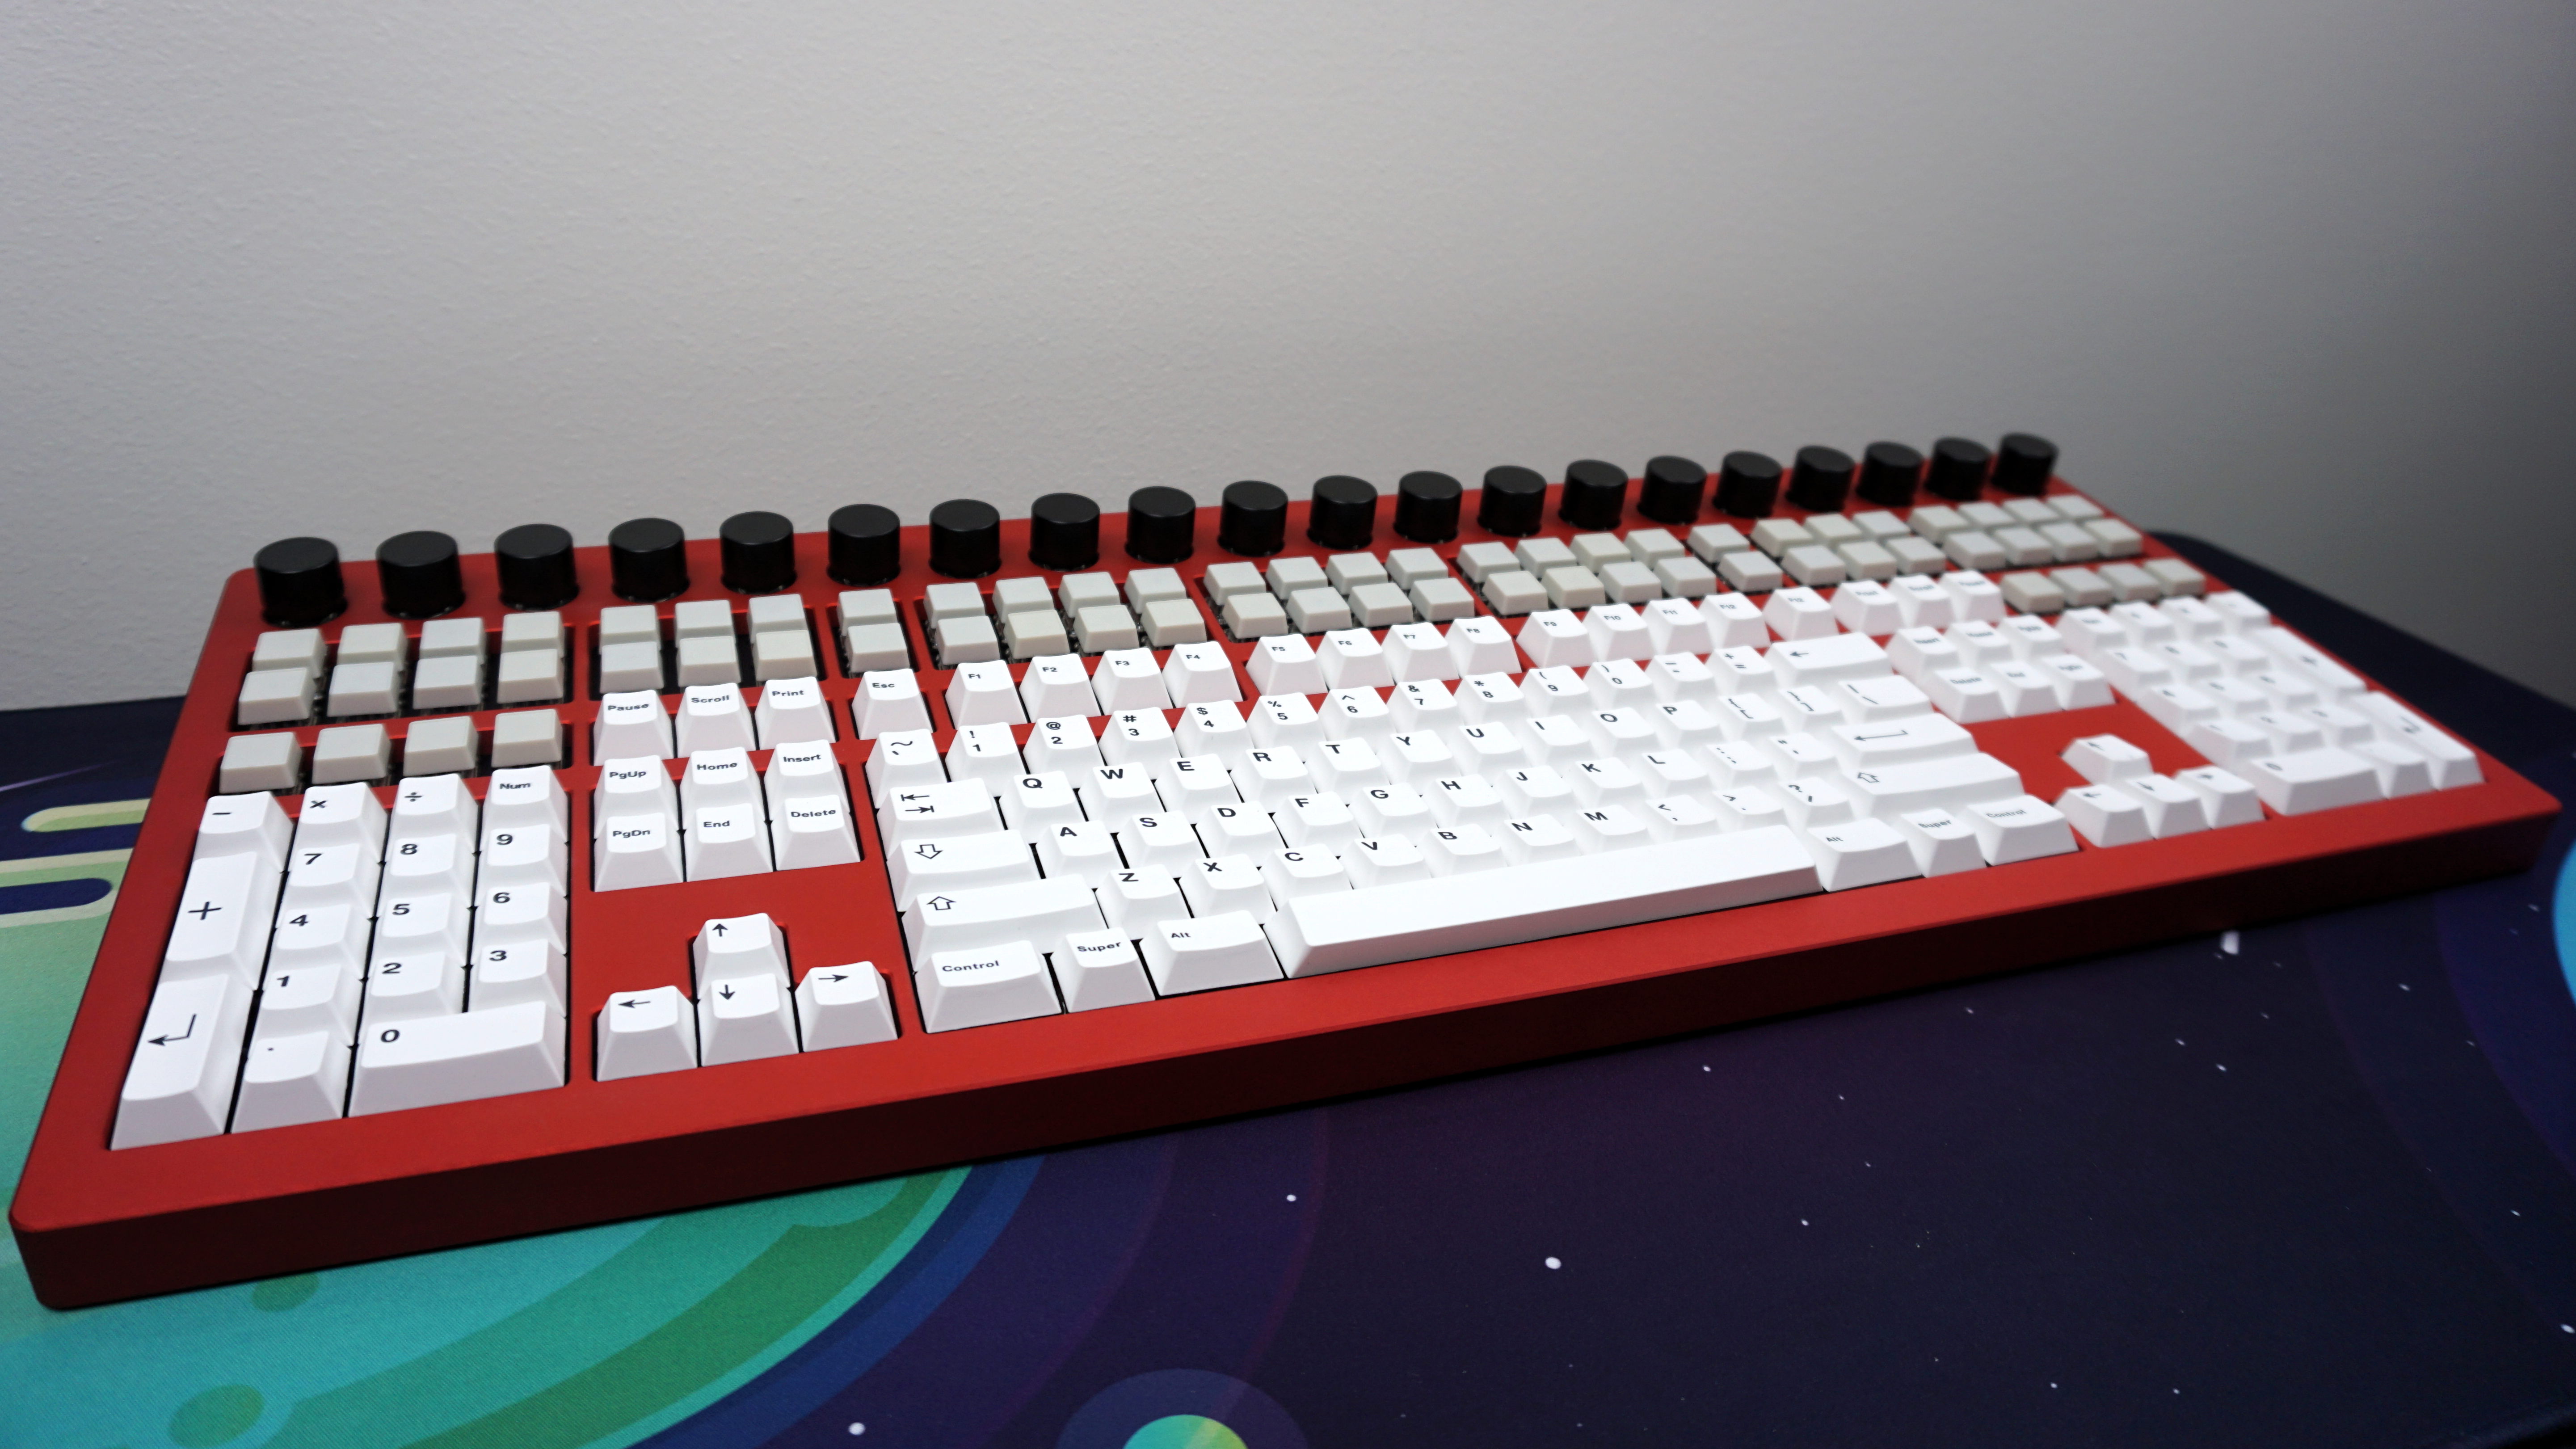
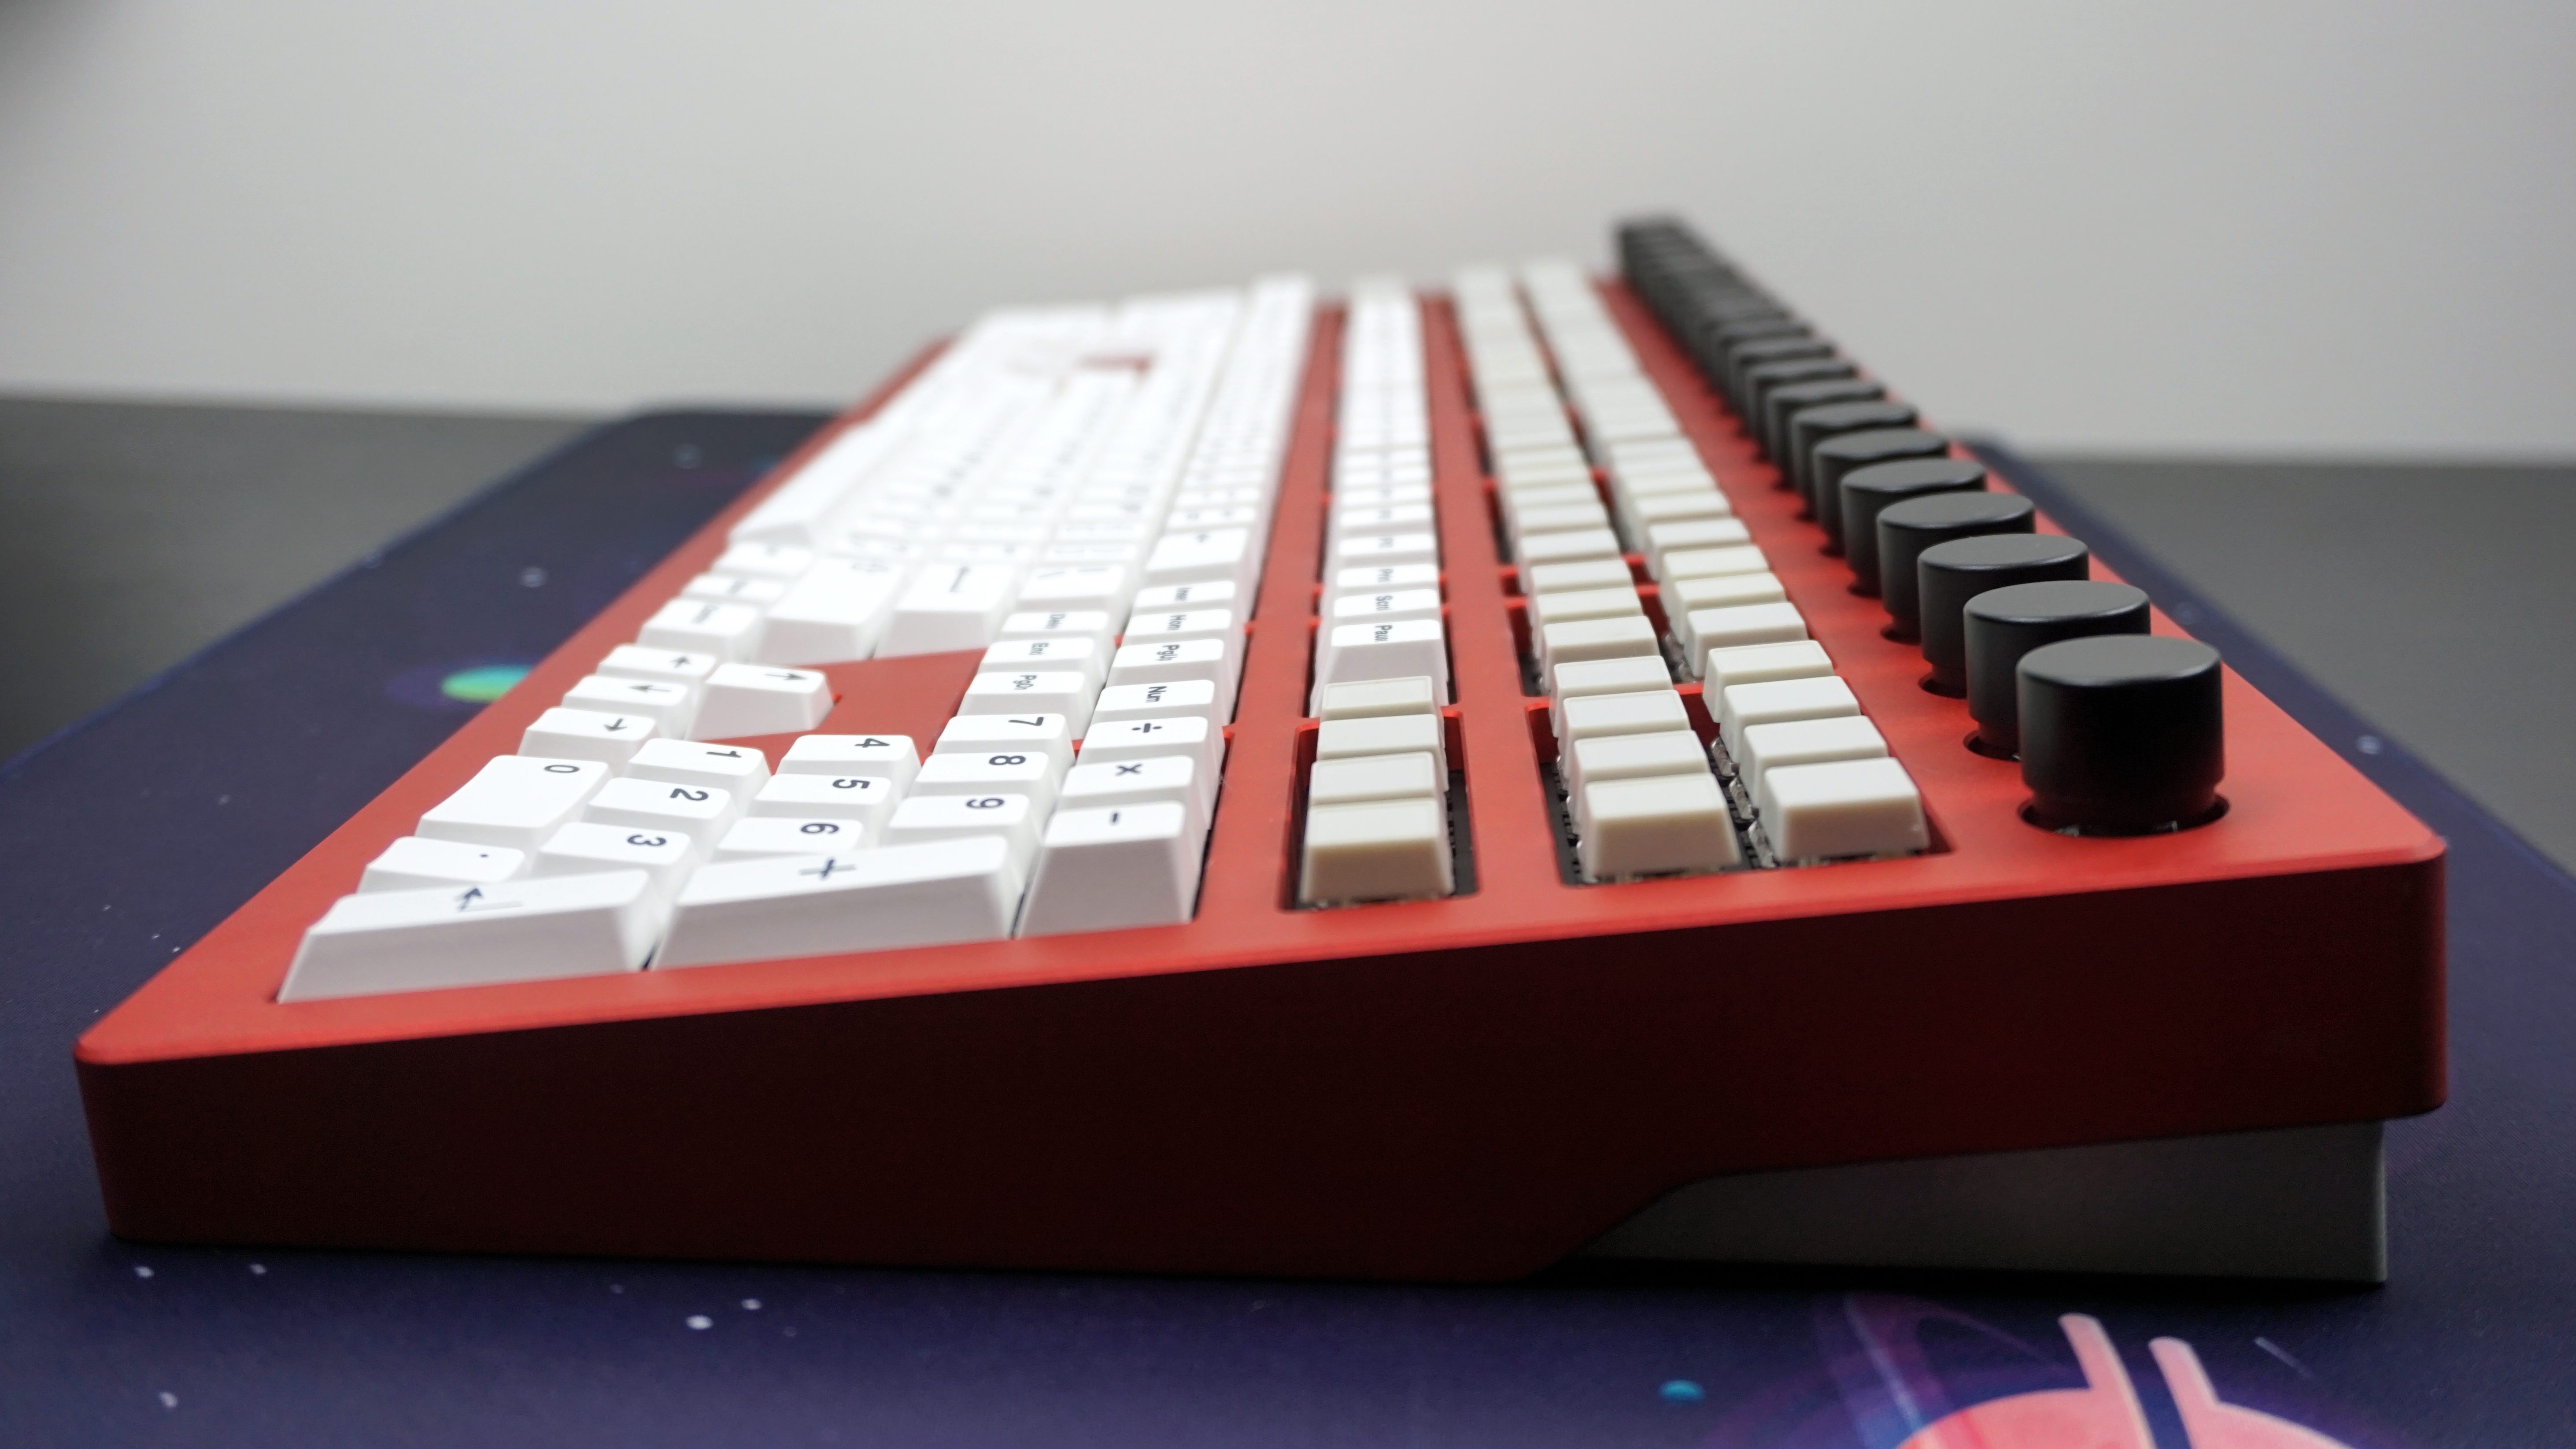
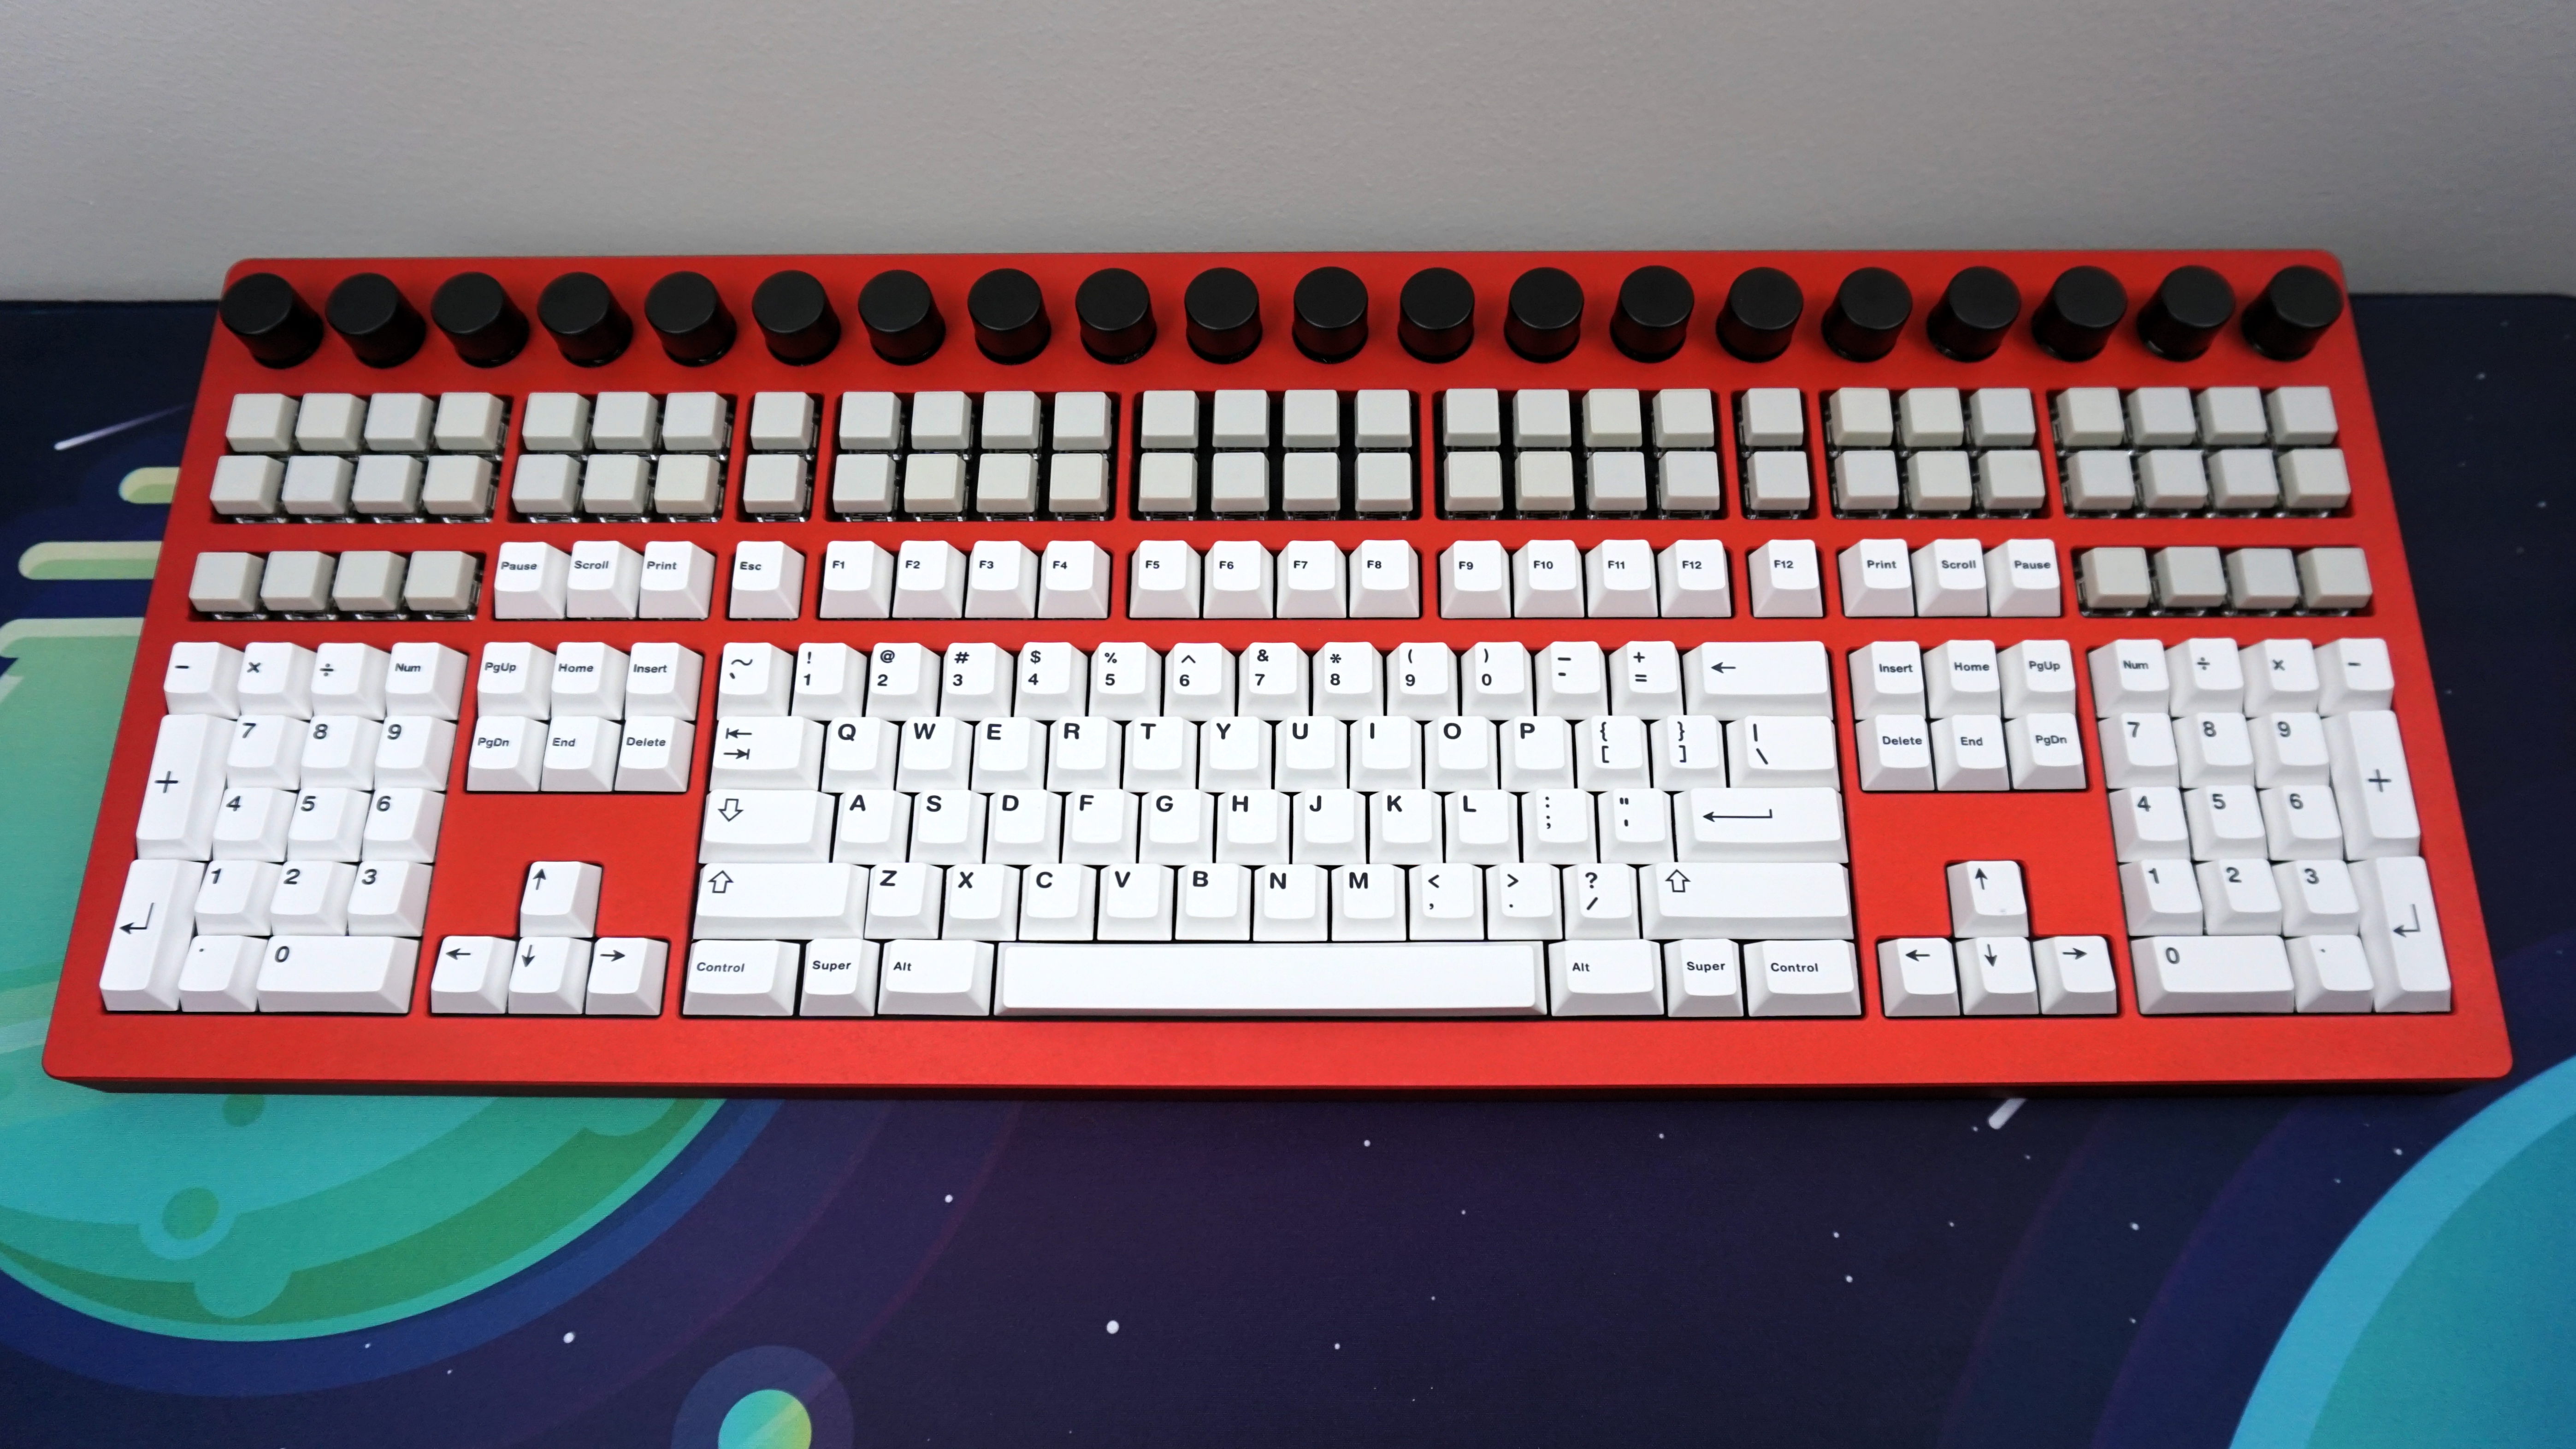
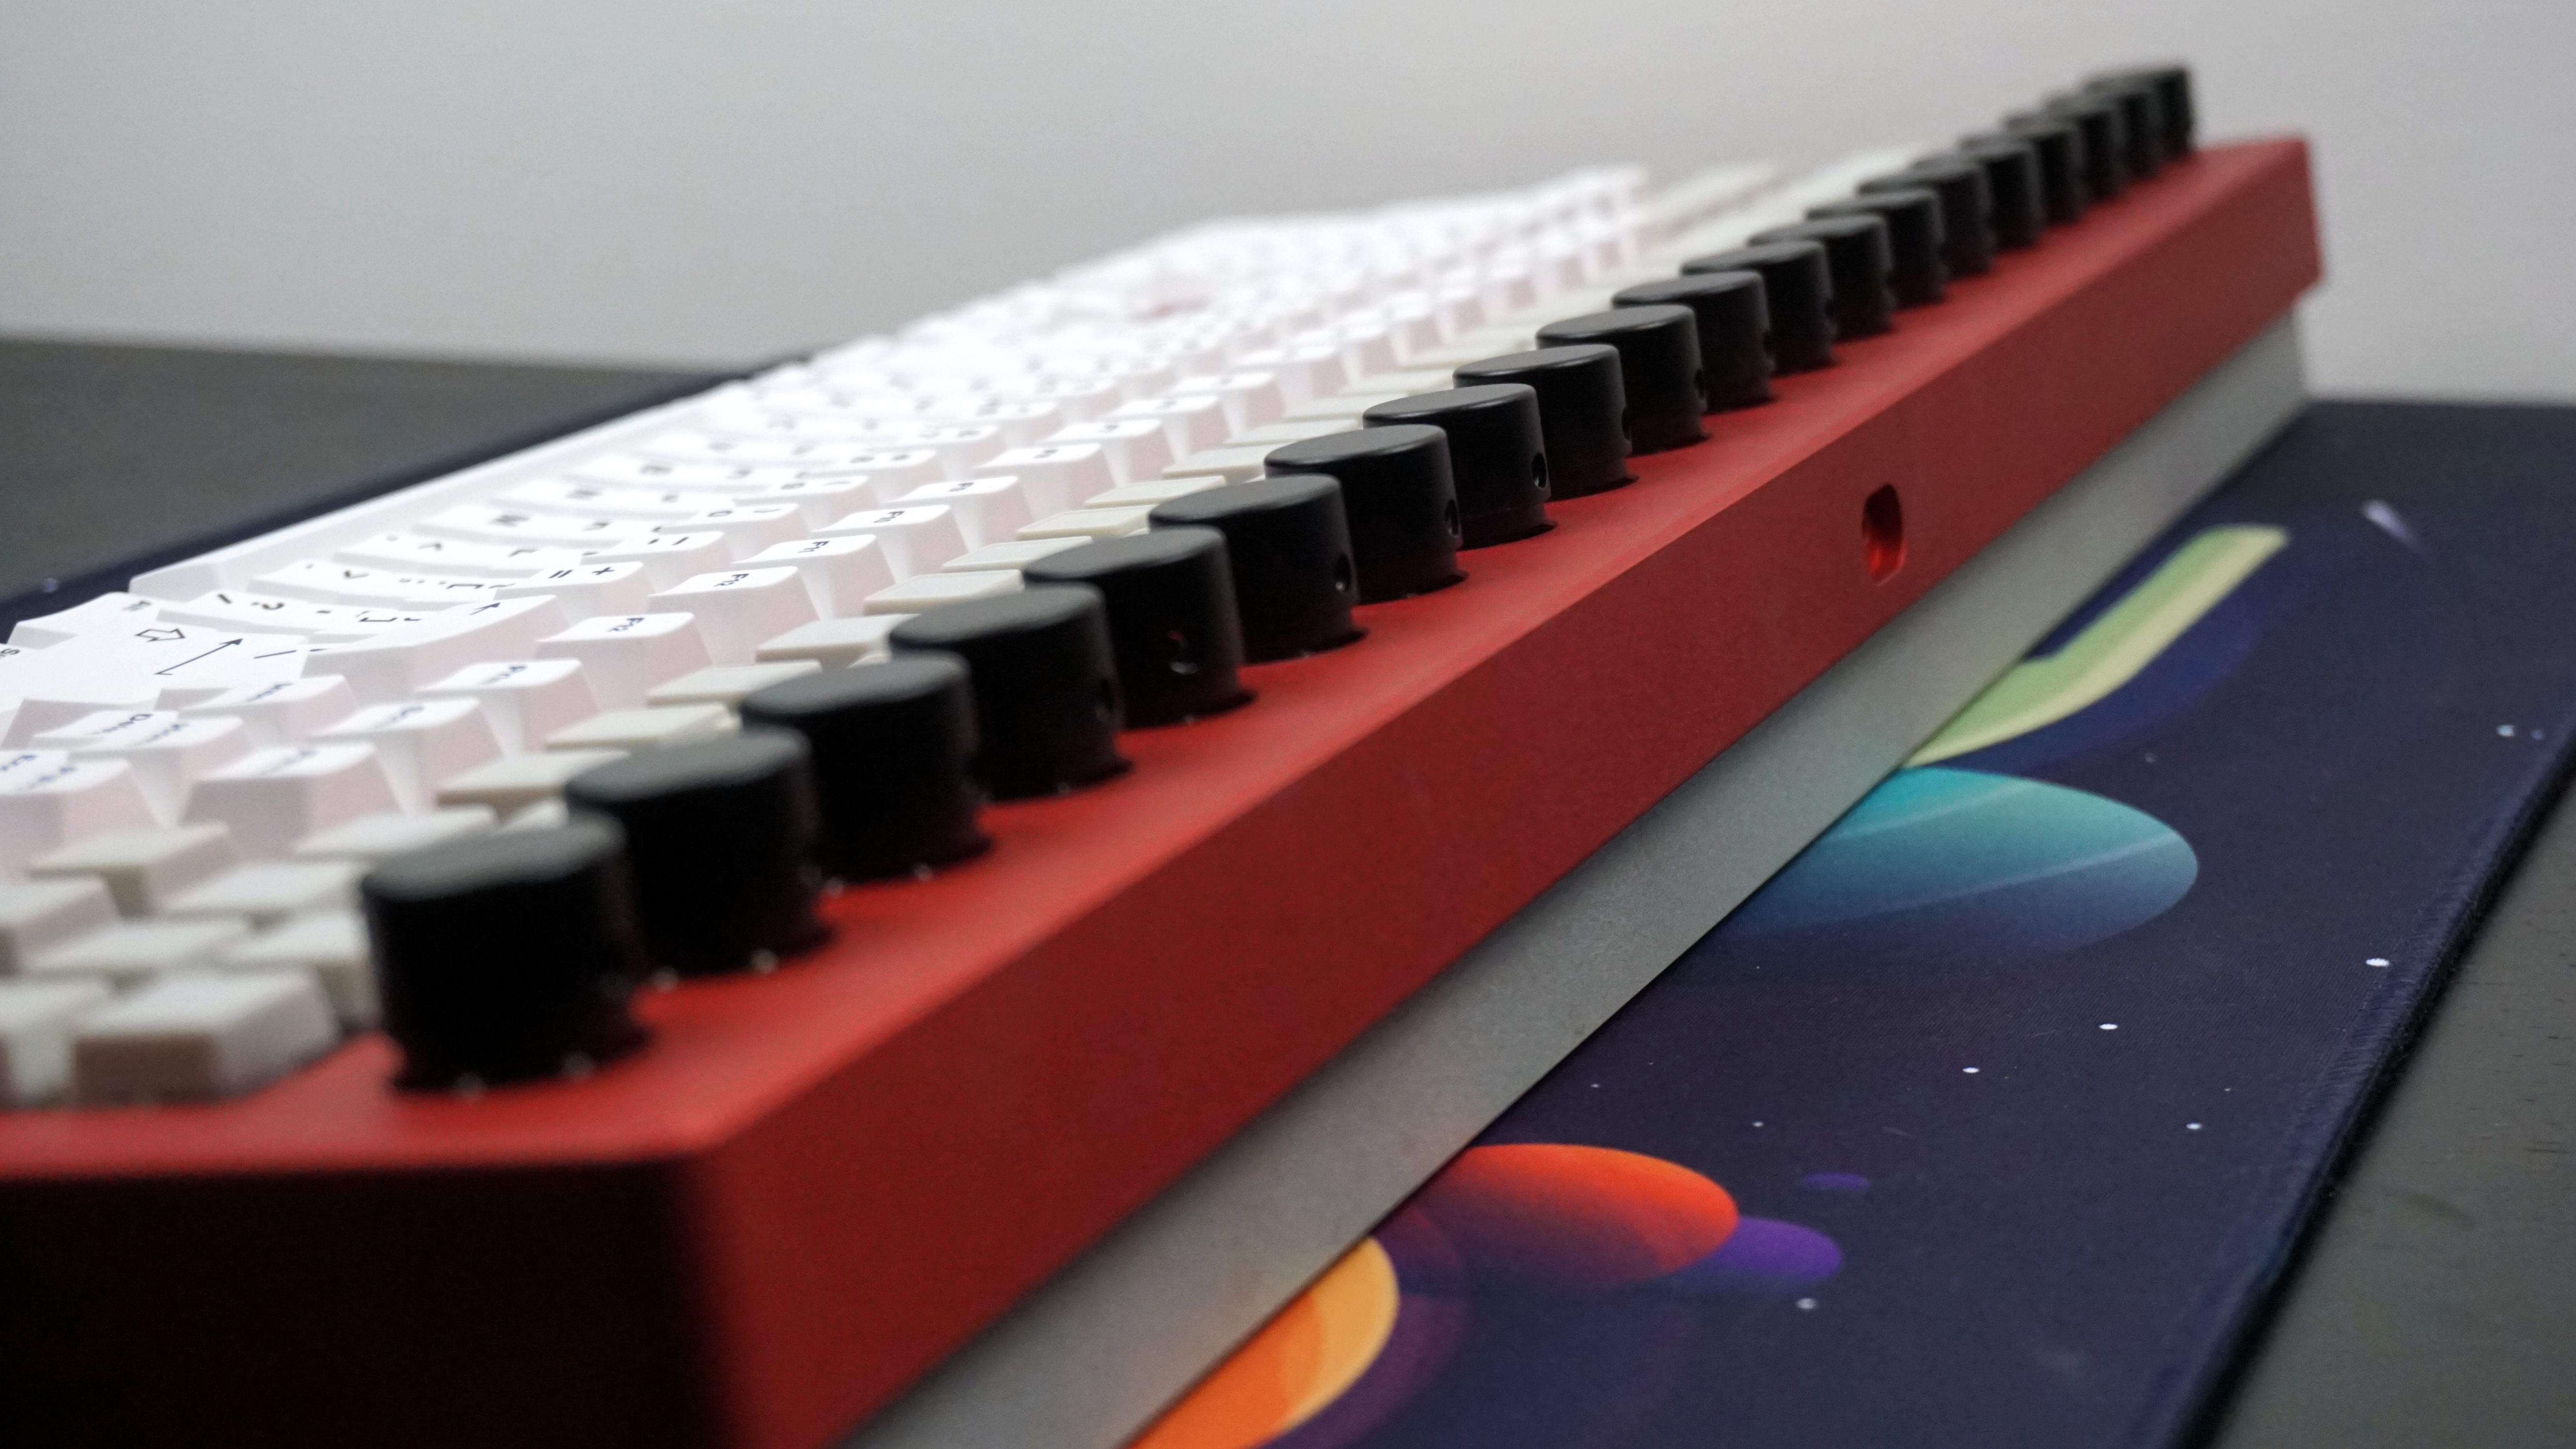
After screwing the case together, I added two sets of keycaps, 64 relegendables, and a bunch of knobs on the board and recorded the below sound test. Putting aside the loud space bar which needs more work I’m extremely happy with how it turned out.
With the sound test done, it was time to call the build complete and reflect on the 50ish hours of work that brought us to this point. Whilst there are a few things that could have been done better, it all worked out very well and I’ve been enjoying typing up this post on Wombat.
A huge thanks has to go out to Jono of Impulse Boards for offering a Wombat up for this crazy project, as for obvious reasons there is no way this would have gone ahead without him.
Rory (Instagram, Discord) was also instrumental to this project going smoothly as without him I’d have used a lot more hot glue to hold the stabs in, and they wouldn’t be lubed to perfection.
Ant from CustomKBD not only hosted us for the Saturday stream, but supplied the stabs that Rory forgot to bring along with the keycaps and leant a hand soldering. 0ldmate from Mountain Keyboards is a good friend and was the source for the Gateron Black switches used in the build.
Finally, thanks to Laser Ninja for linking Jono’s post which kicked this all off, Timatoee for the patch you can see throughout the streams, along with everyone who tuned in and provided words of support throughout.
With all the above said, please enjoy the below photos and if you have any questions don’t hesitate to get in touch.